

The hook
Recently LEGO®, known for the bricks that work like caltrips for feet, released a new set: the LEGO® Icons Arcade Pinball Machine, aka set 11374
(And that’s enough of typing it uppercase and with the ® symbol)
As a life-long pinball fan and someone who played with Lego blocks in my youth, I had to snap it up. It promised to be a functional pinball machine made from Lego blocks, based on the classic space theme, what’s not to love?
Overview
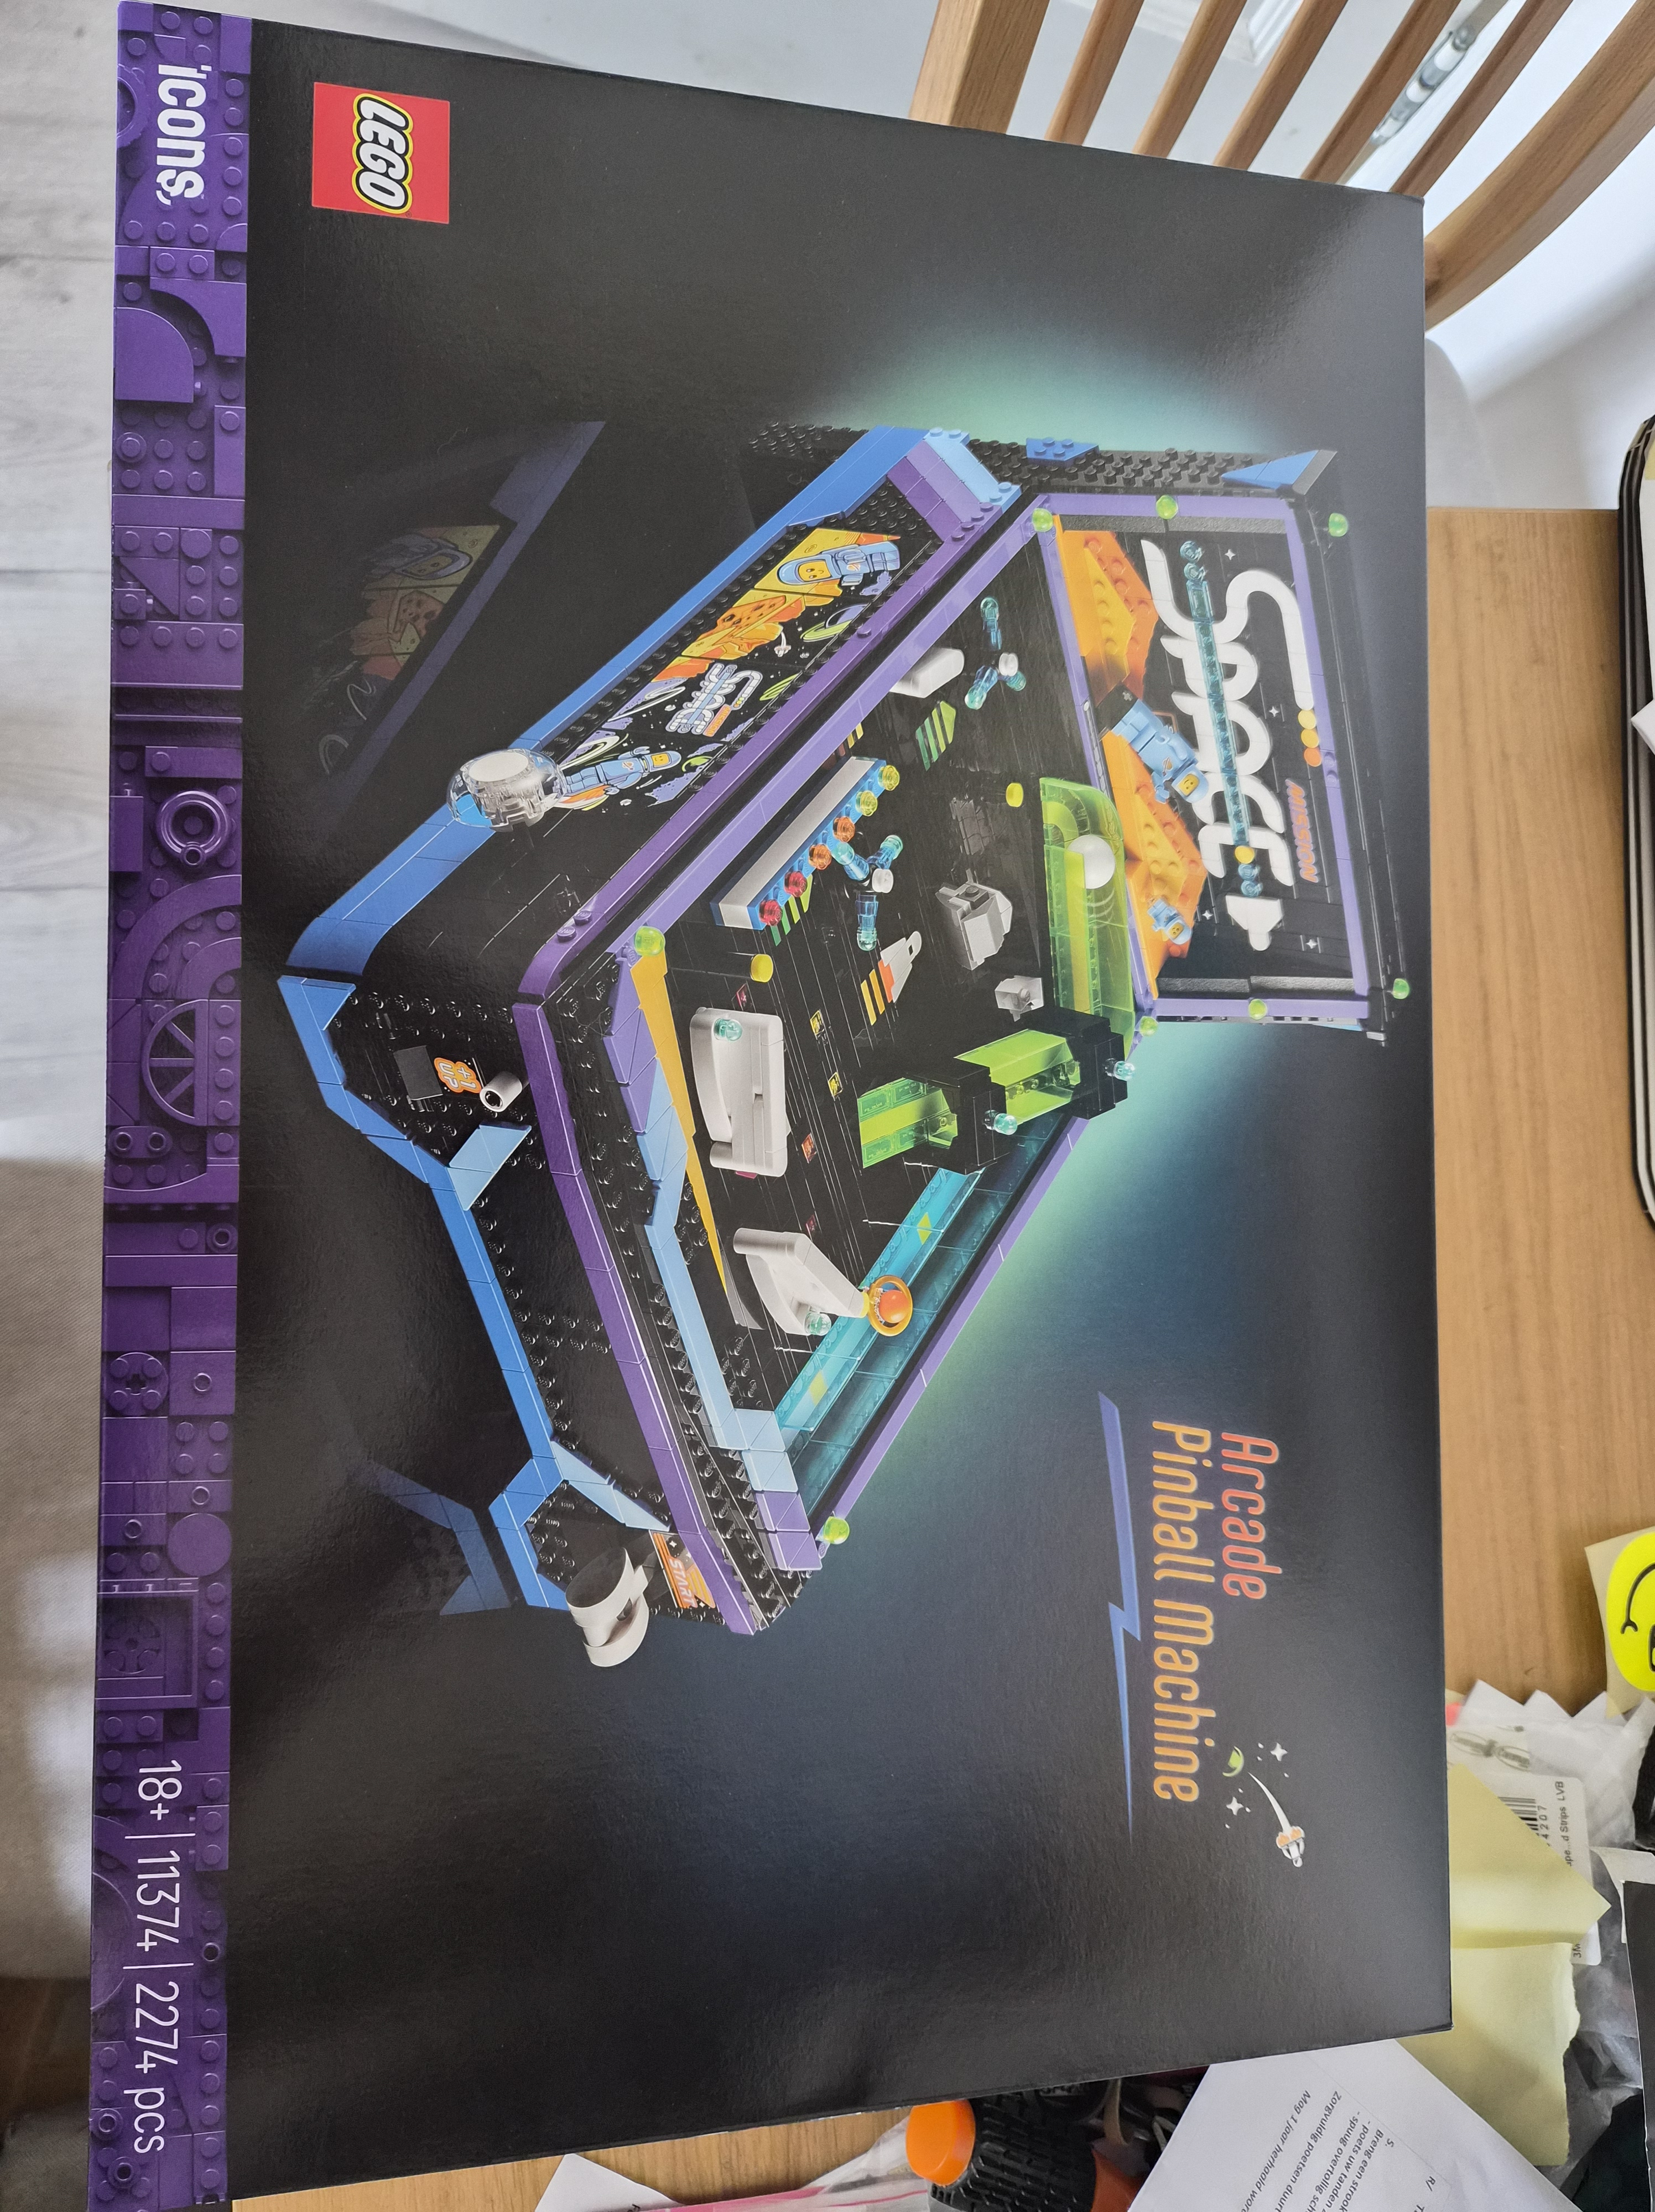
The set comes in a huge box with a preview of the final build on top as well as the daunting 2274 pieces note. This is not a casual build, and definitely not for kids.
So what’s inside?
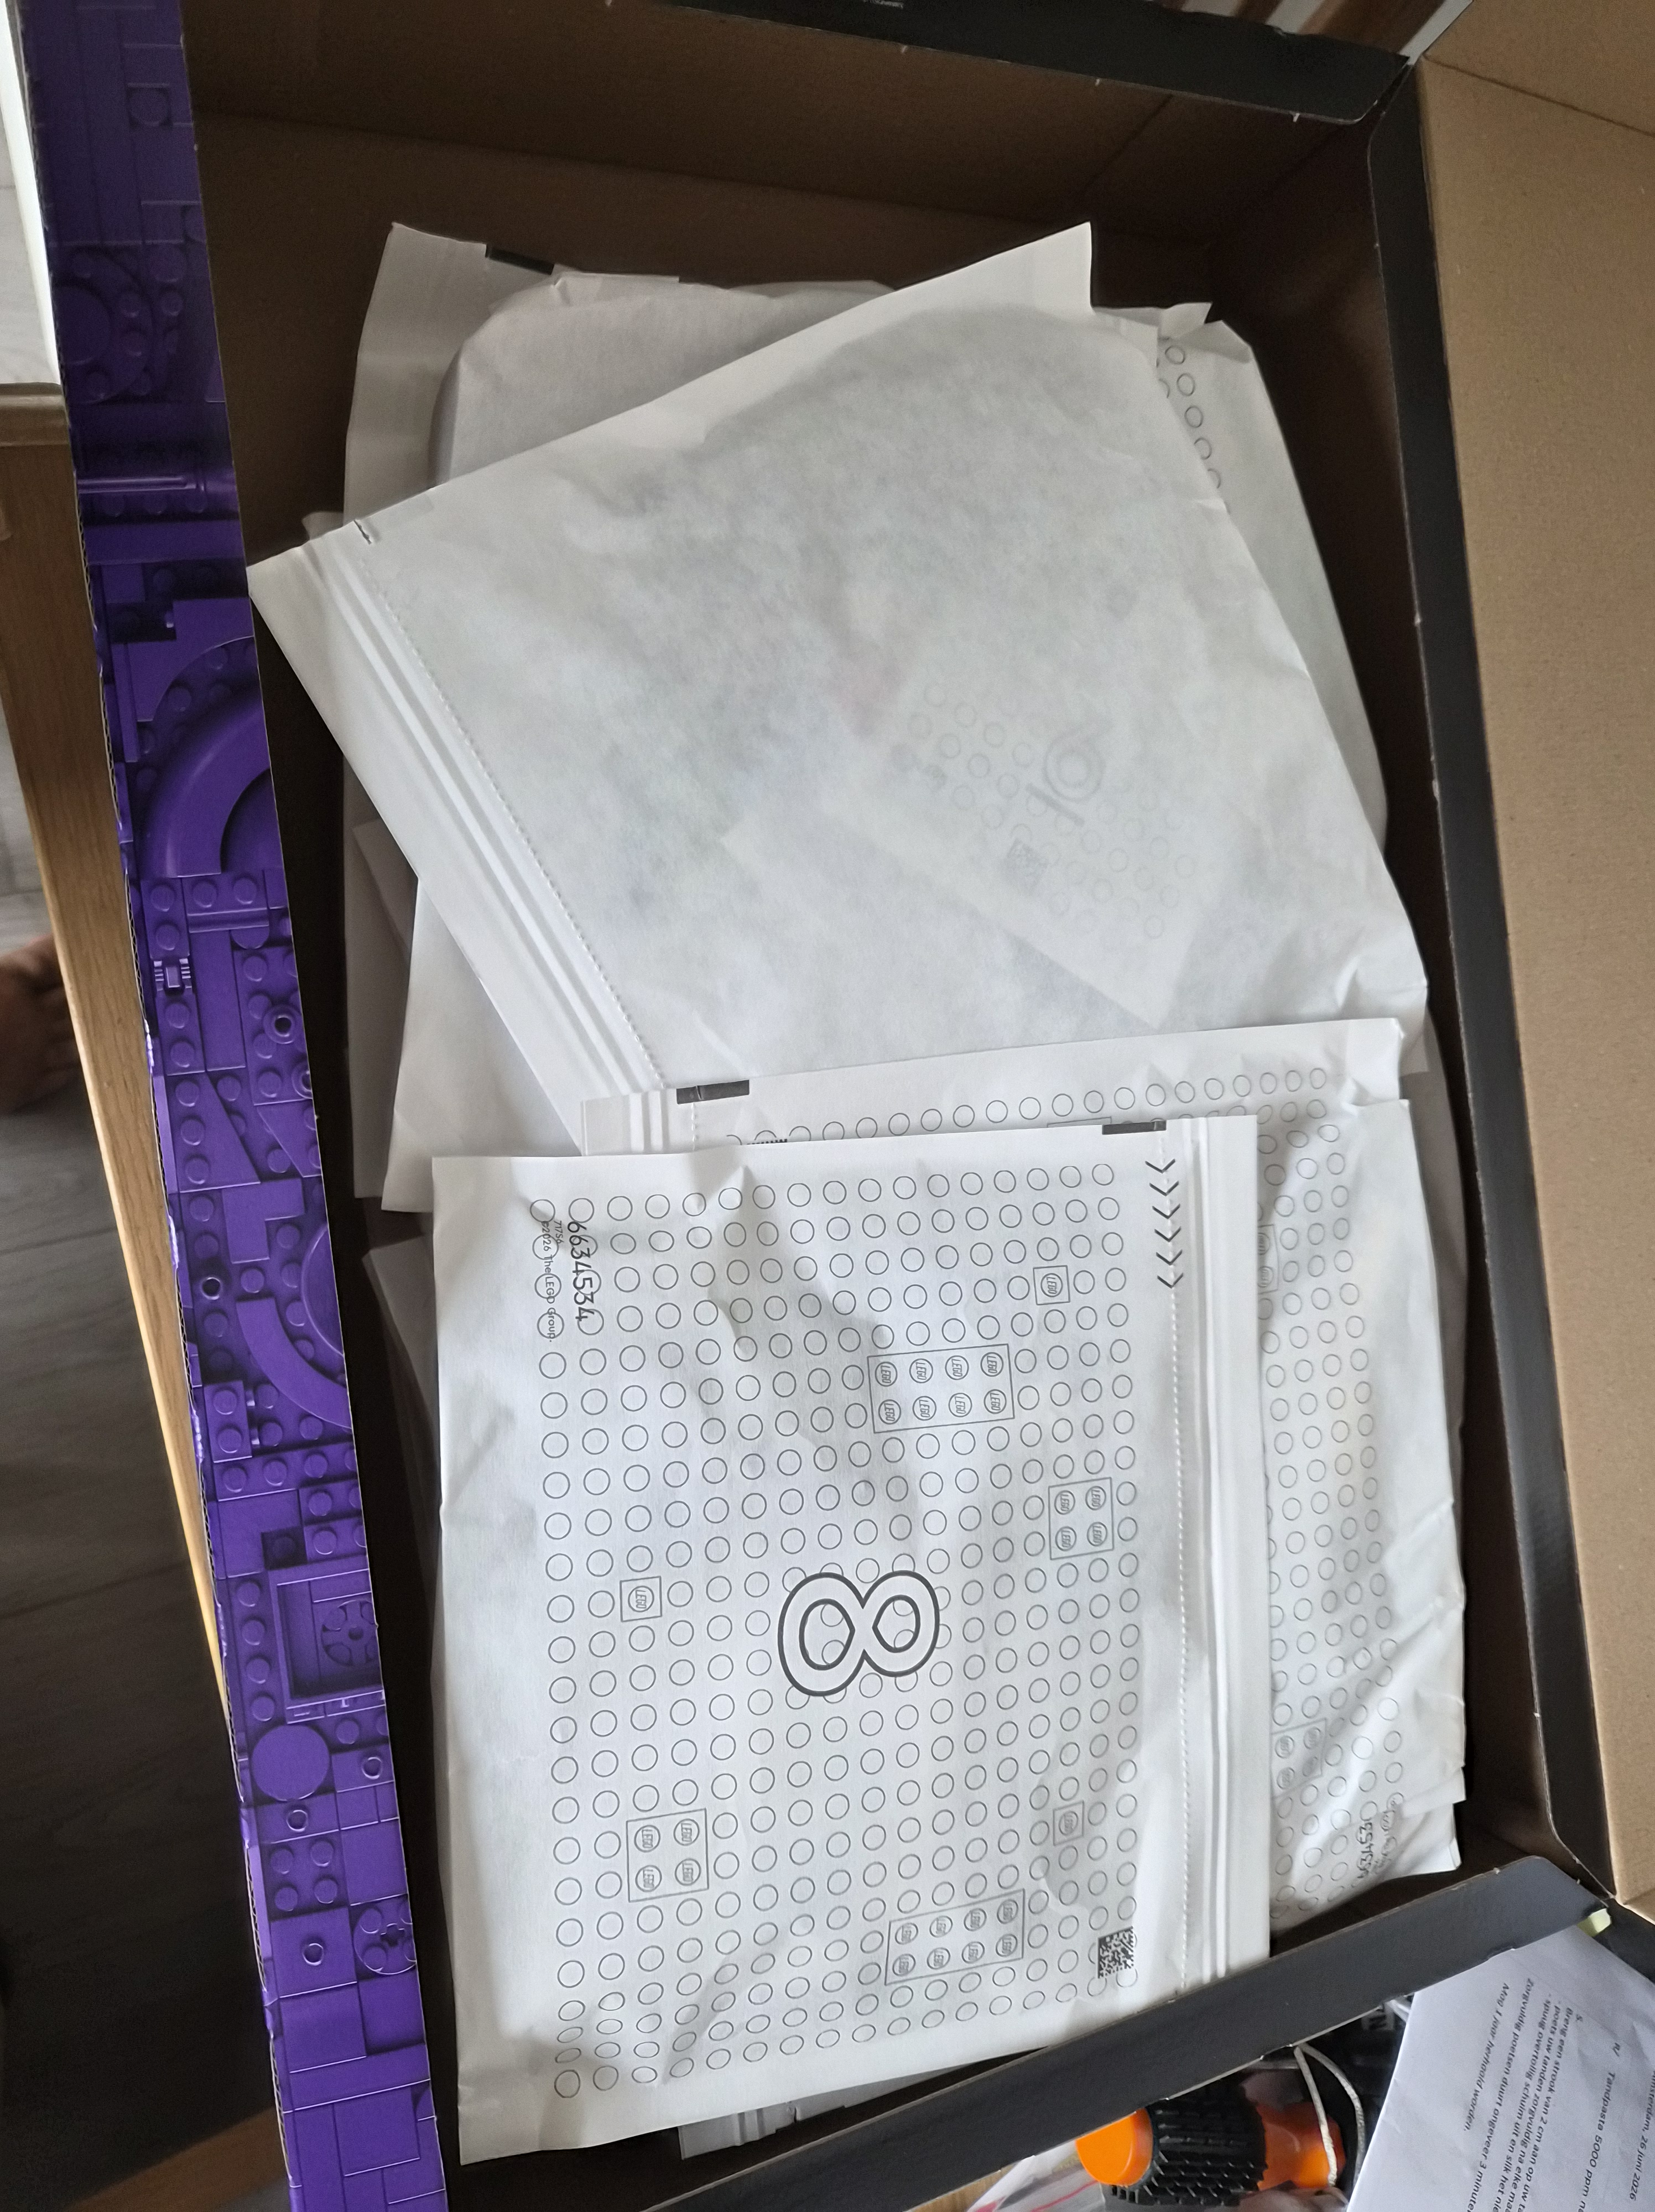
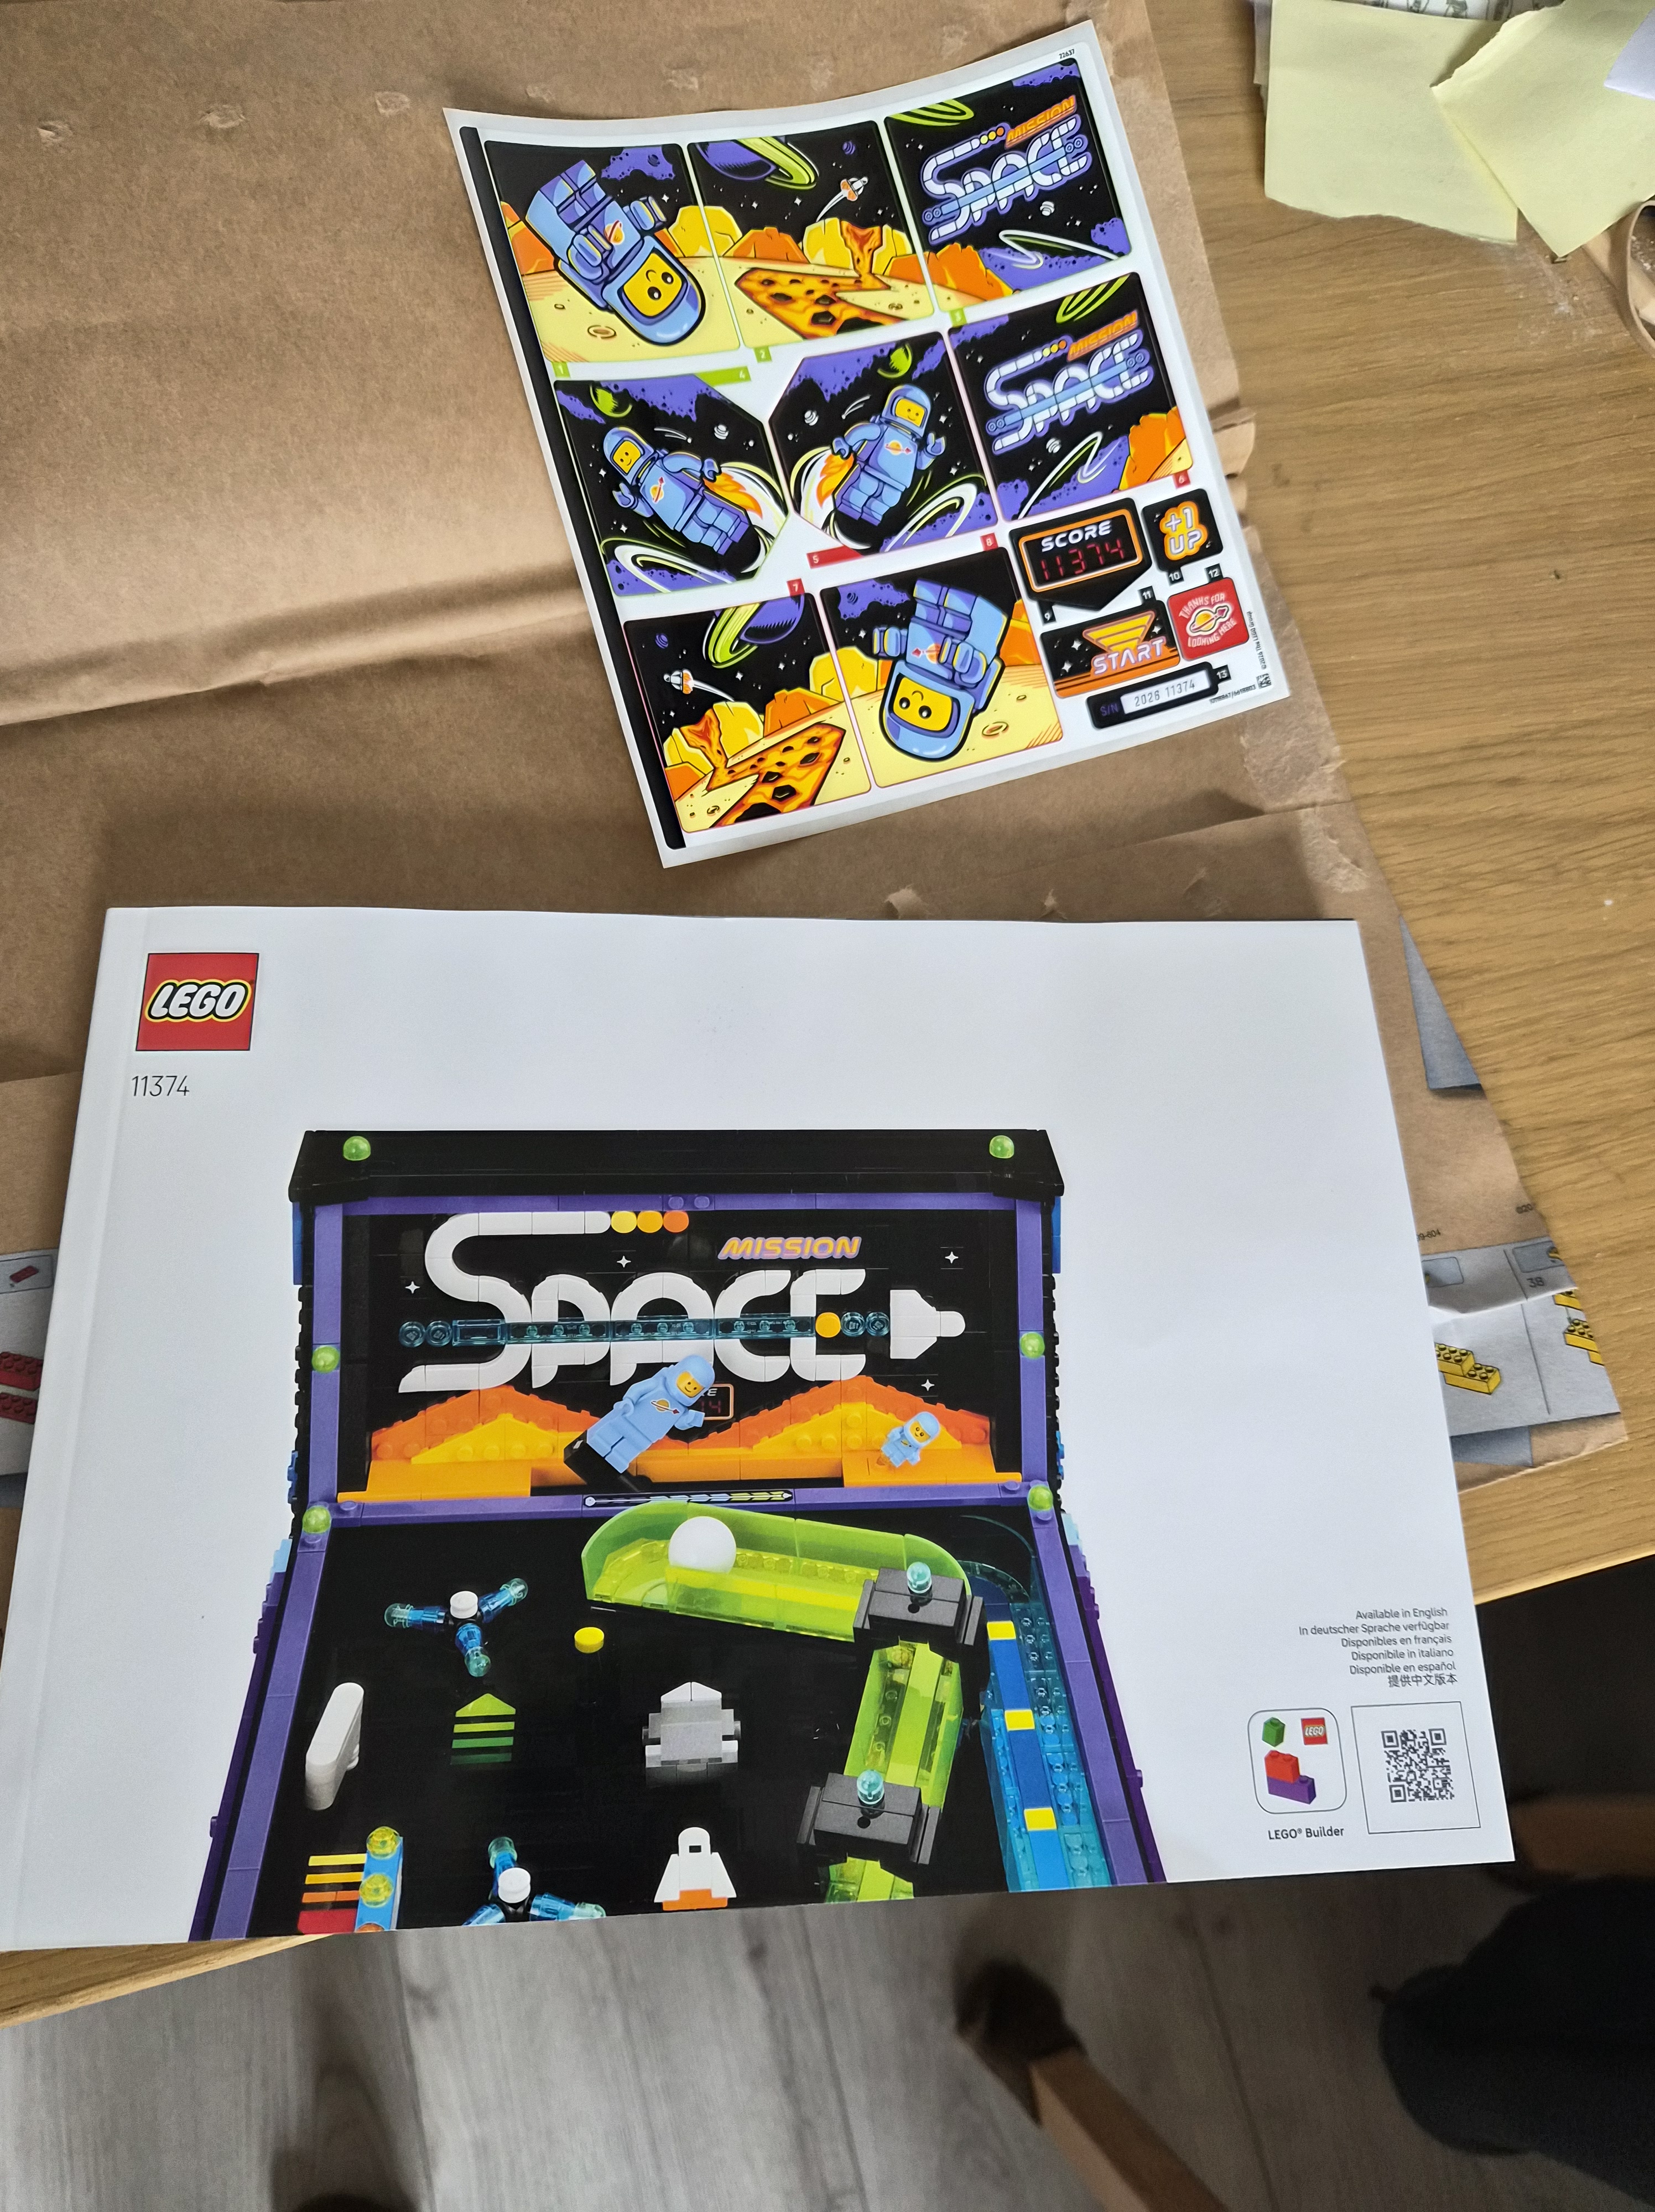
16 bags, some of which contain more bags, and an instruction booklet so heavy you can hurt someone with it. Oh, and some stickers.
Apparently that is how Lego ships larger sets these days – it was unfamiliar to me, not having bought any Lego since the 1990s.
Building
While the booklet is well made, I found a lot of the instructions unclear. Luckily, the QR code on the booklet points to a download for the Lego Builder app, which proved to be a godsend. The same instructions, but now in 3D, rotatable and zoomable. I used this to build the table.
The frame

Bag 1 started small with just the mini figure and a part of the frame. Also shown in the back is the orange spudger which would come in handy to correct mistakes, and the first of many spare parts.
Framed more

Bag 2 was more of the frame, including the first yellow bar parts that would come in handy later.
Bag End?
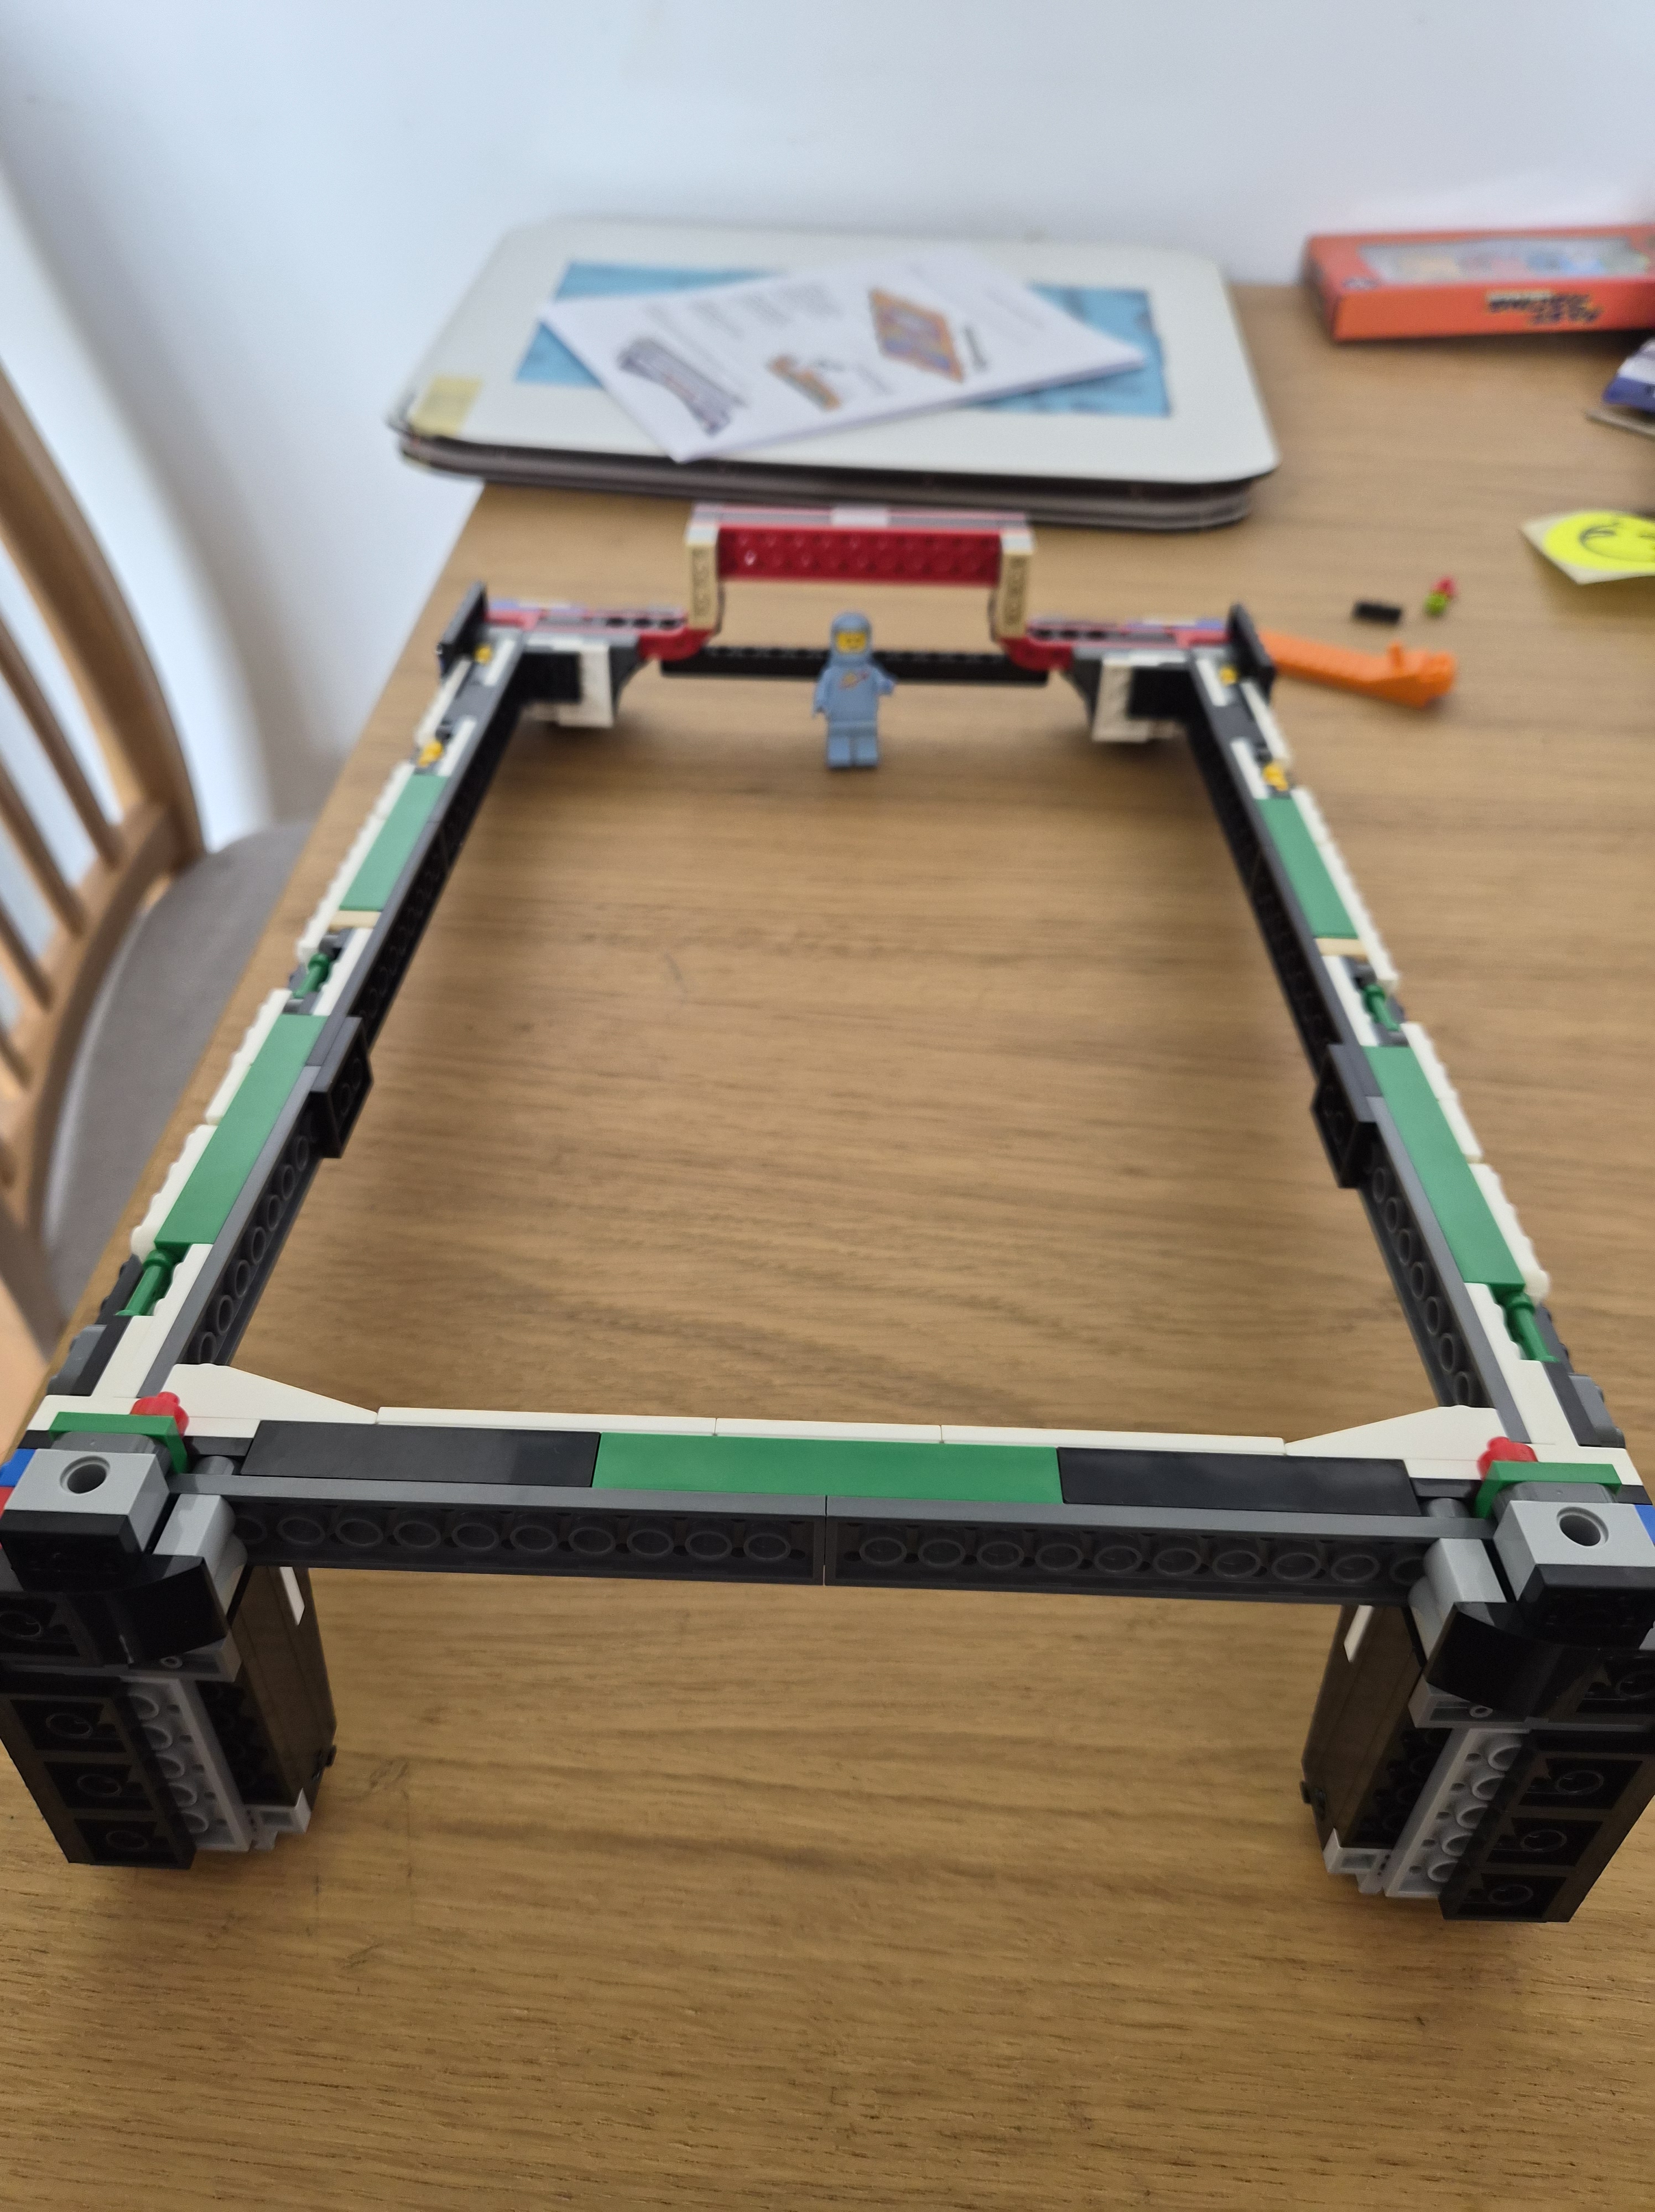
With bag 3 done the full outer frame (sans scoreboard) is completed. Isn’t she a beauty from the back?
What is this?
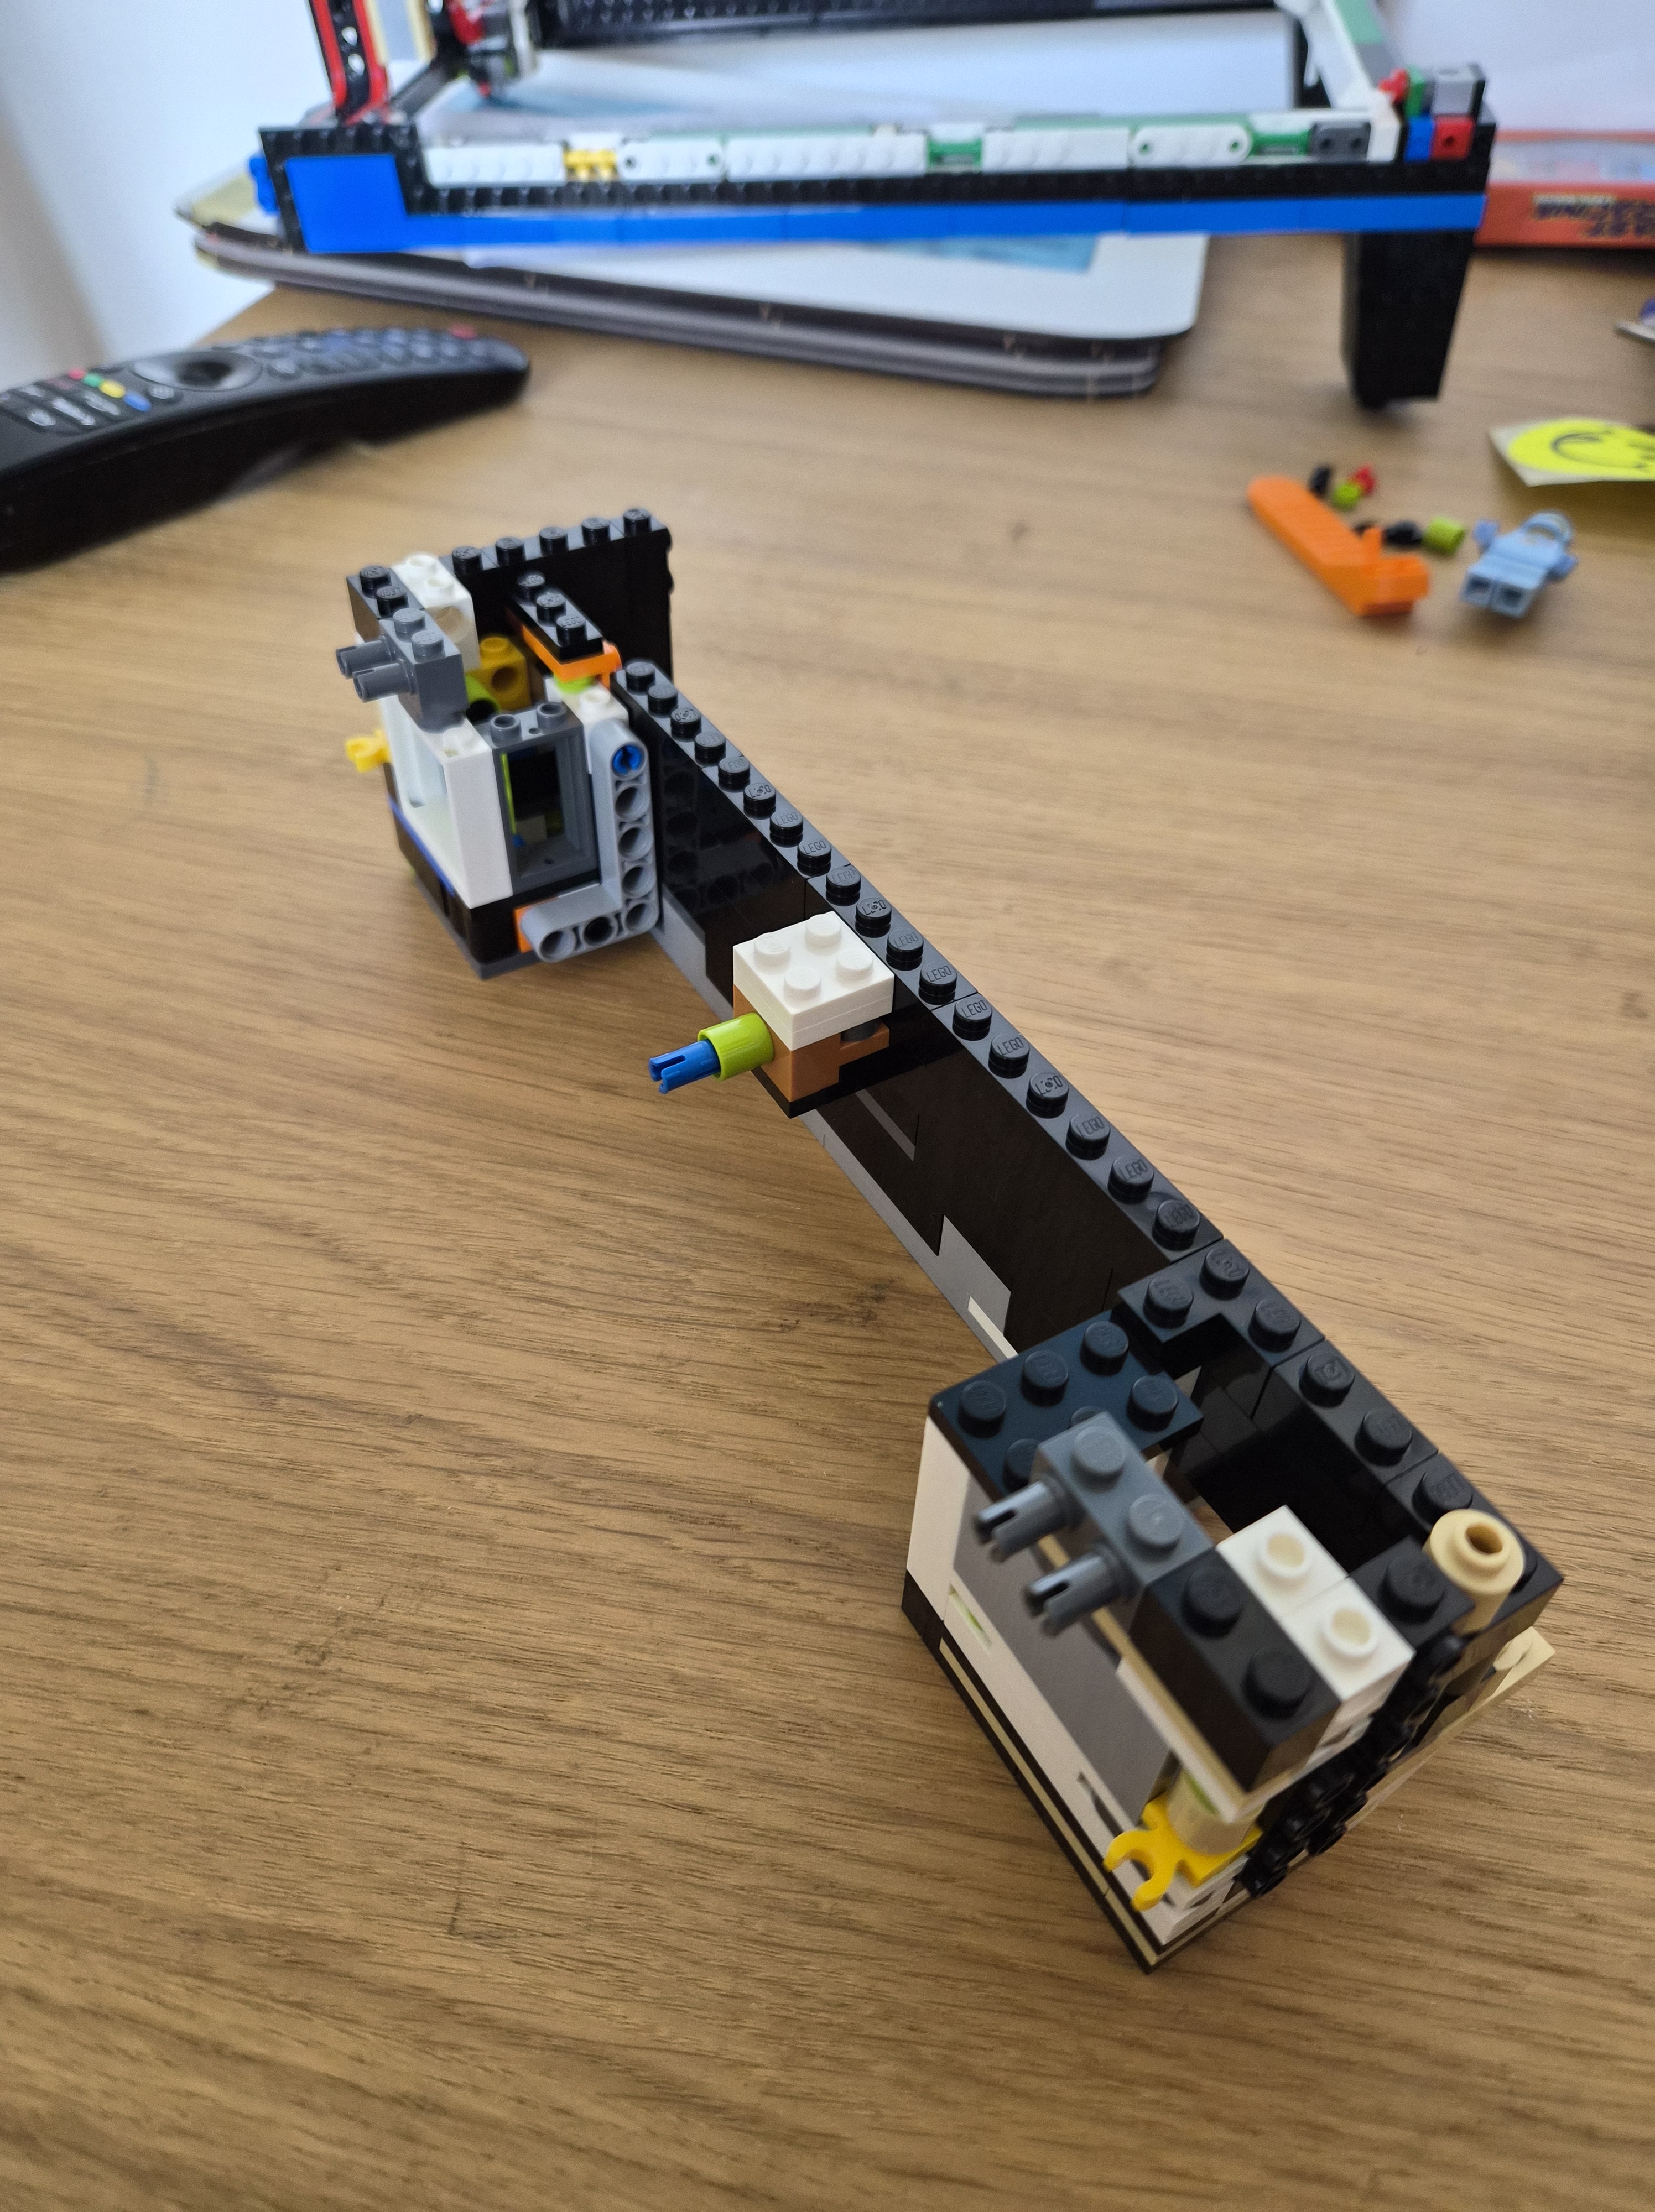
In bag 4 I could put the frame to the side and started working on parts which didn’t make much sense to me yet at the time. Notice the yellow hooks, they would become very interesting later.
We’ve got Flippers!
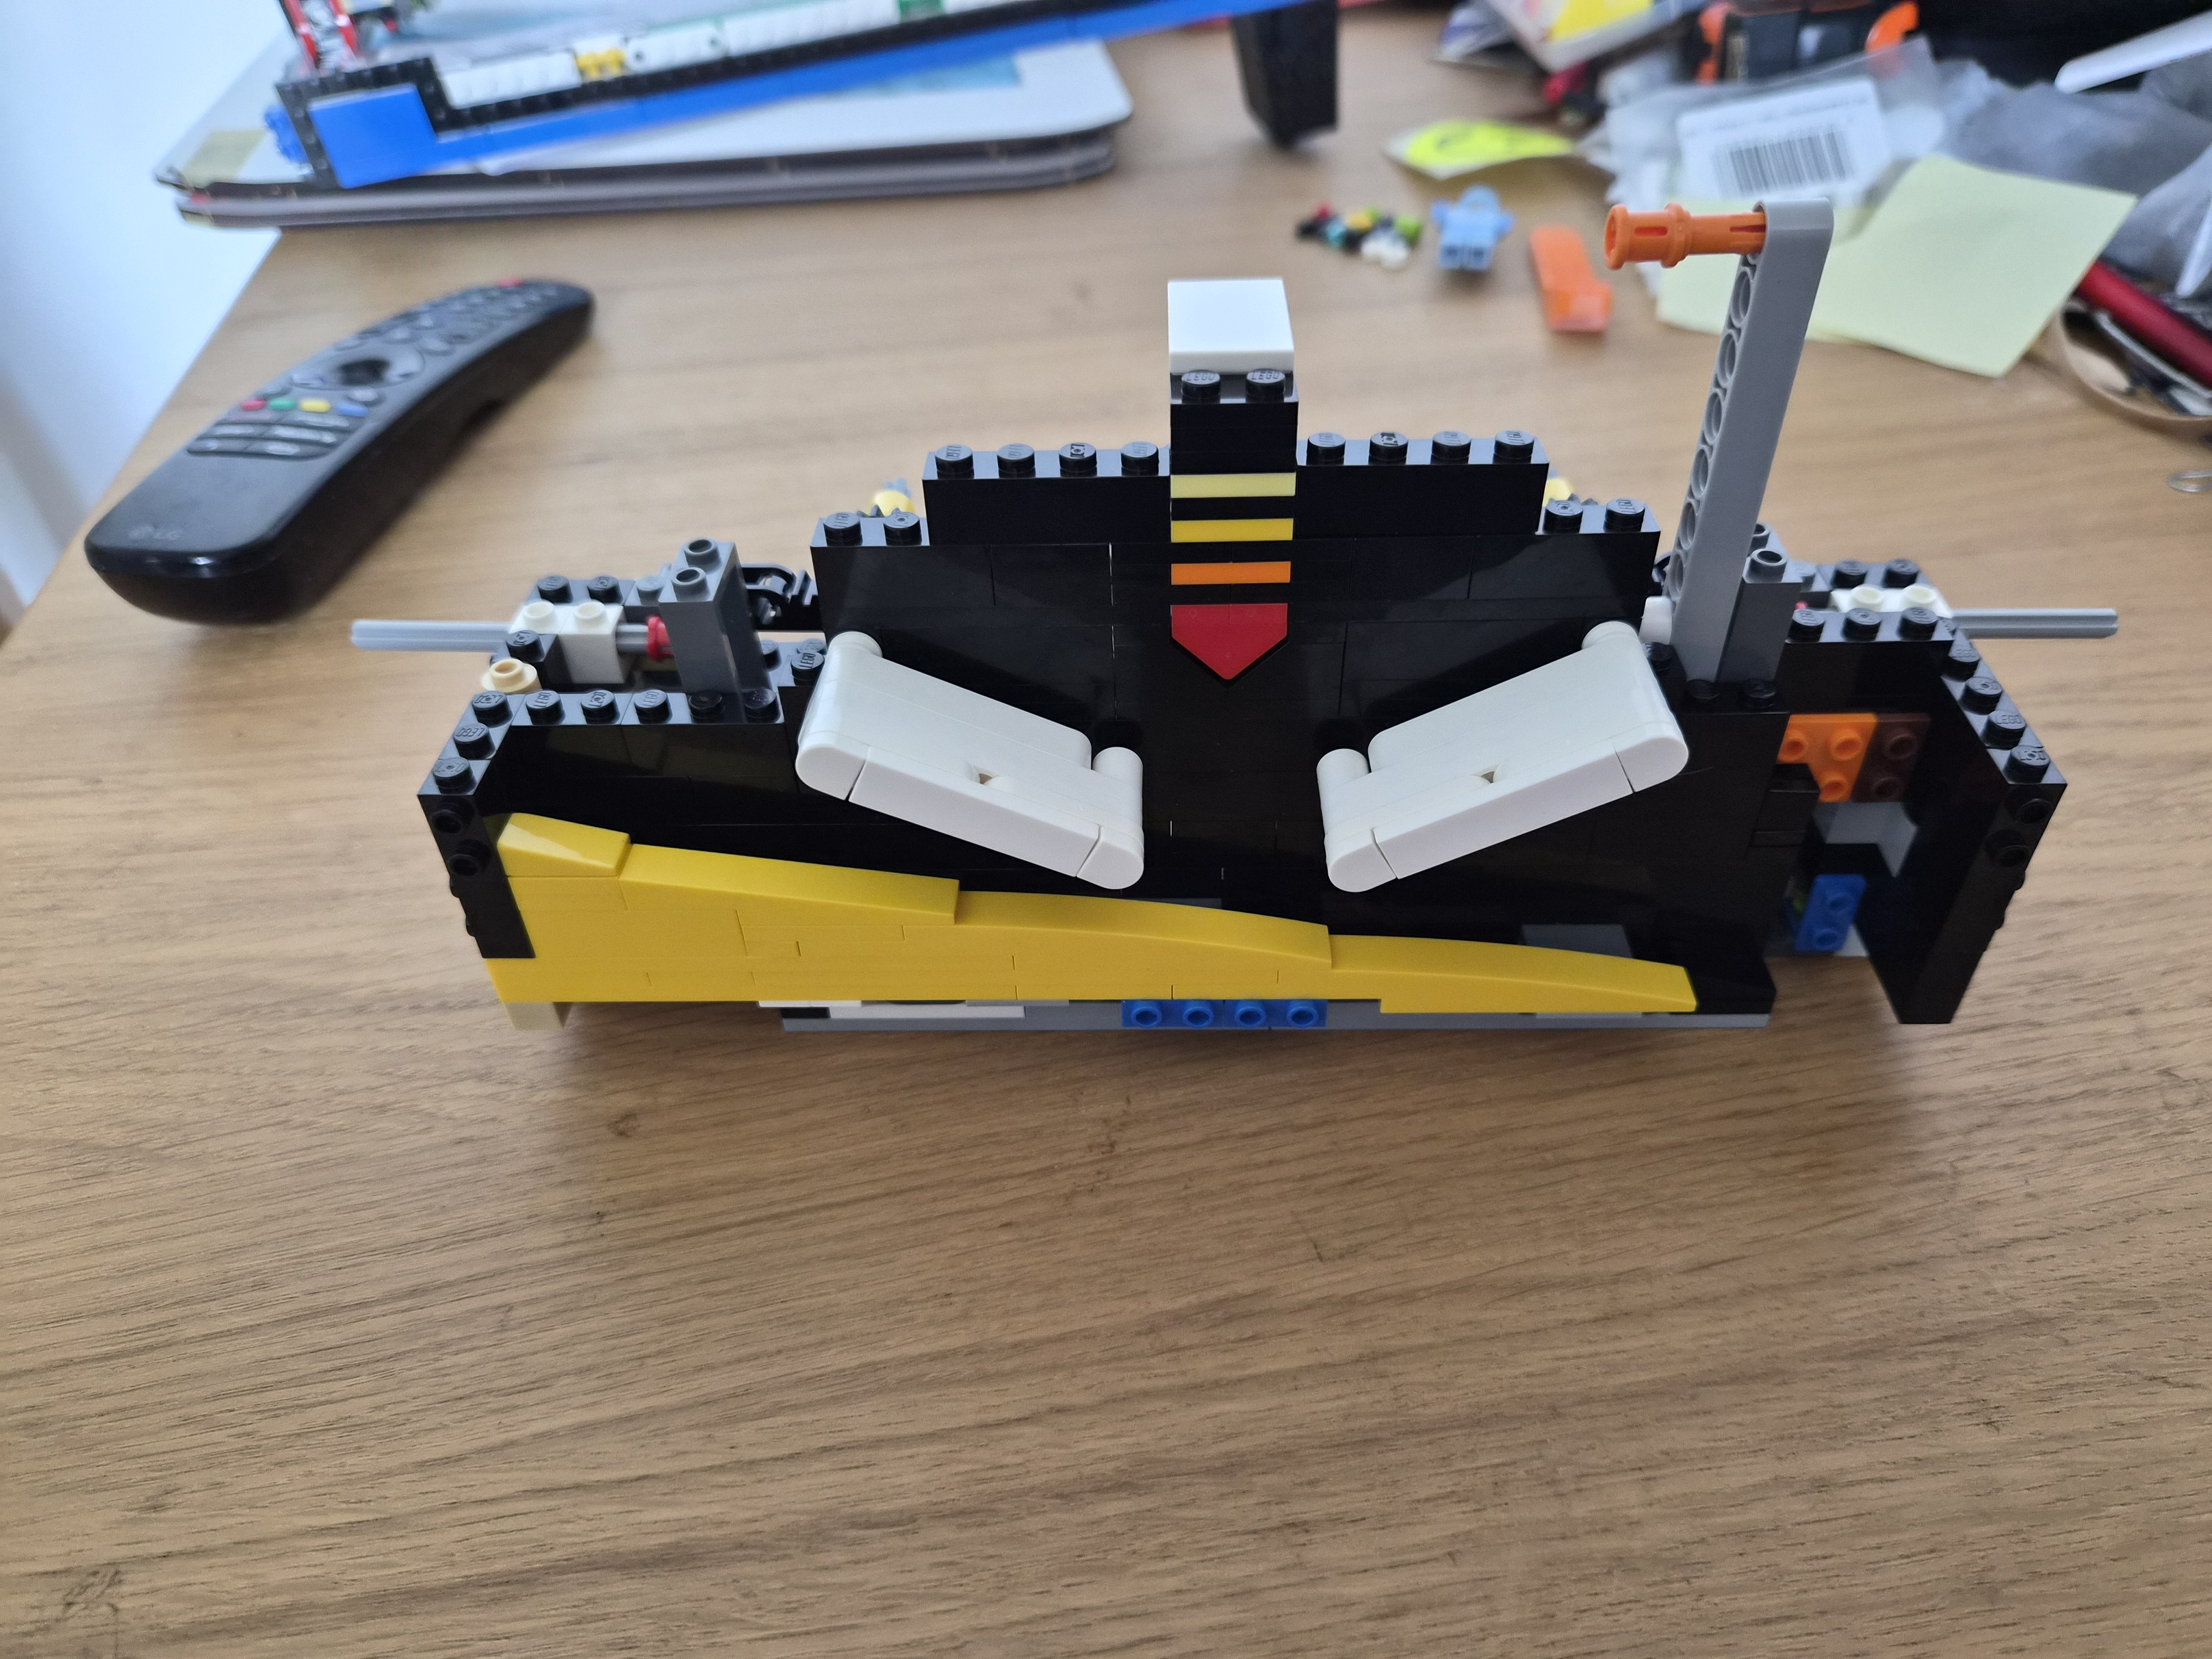
So turns out what I was building was the ball drain and the flippers! I was not familiar with Lego Technic beyond the name, but seeing these ‘drive shafts’ in action made me smile. I spent more time than necessary just ‘testing’ the flippers before continuing.
We’ve got a plunger, too!
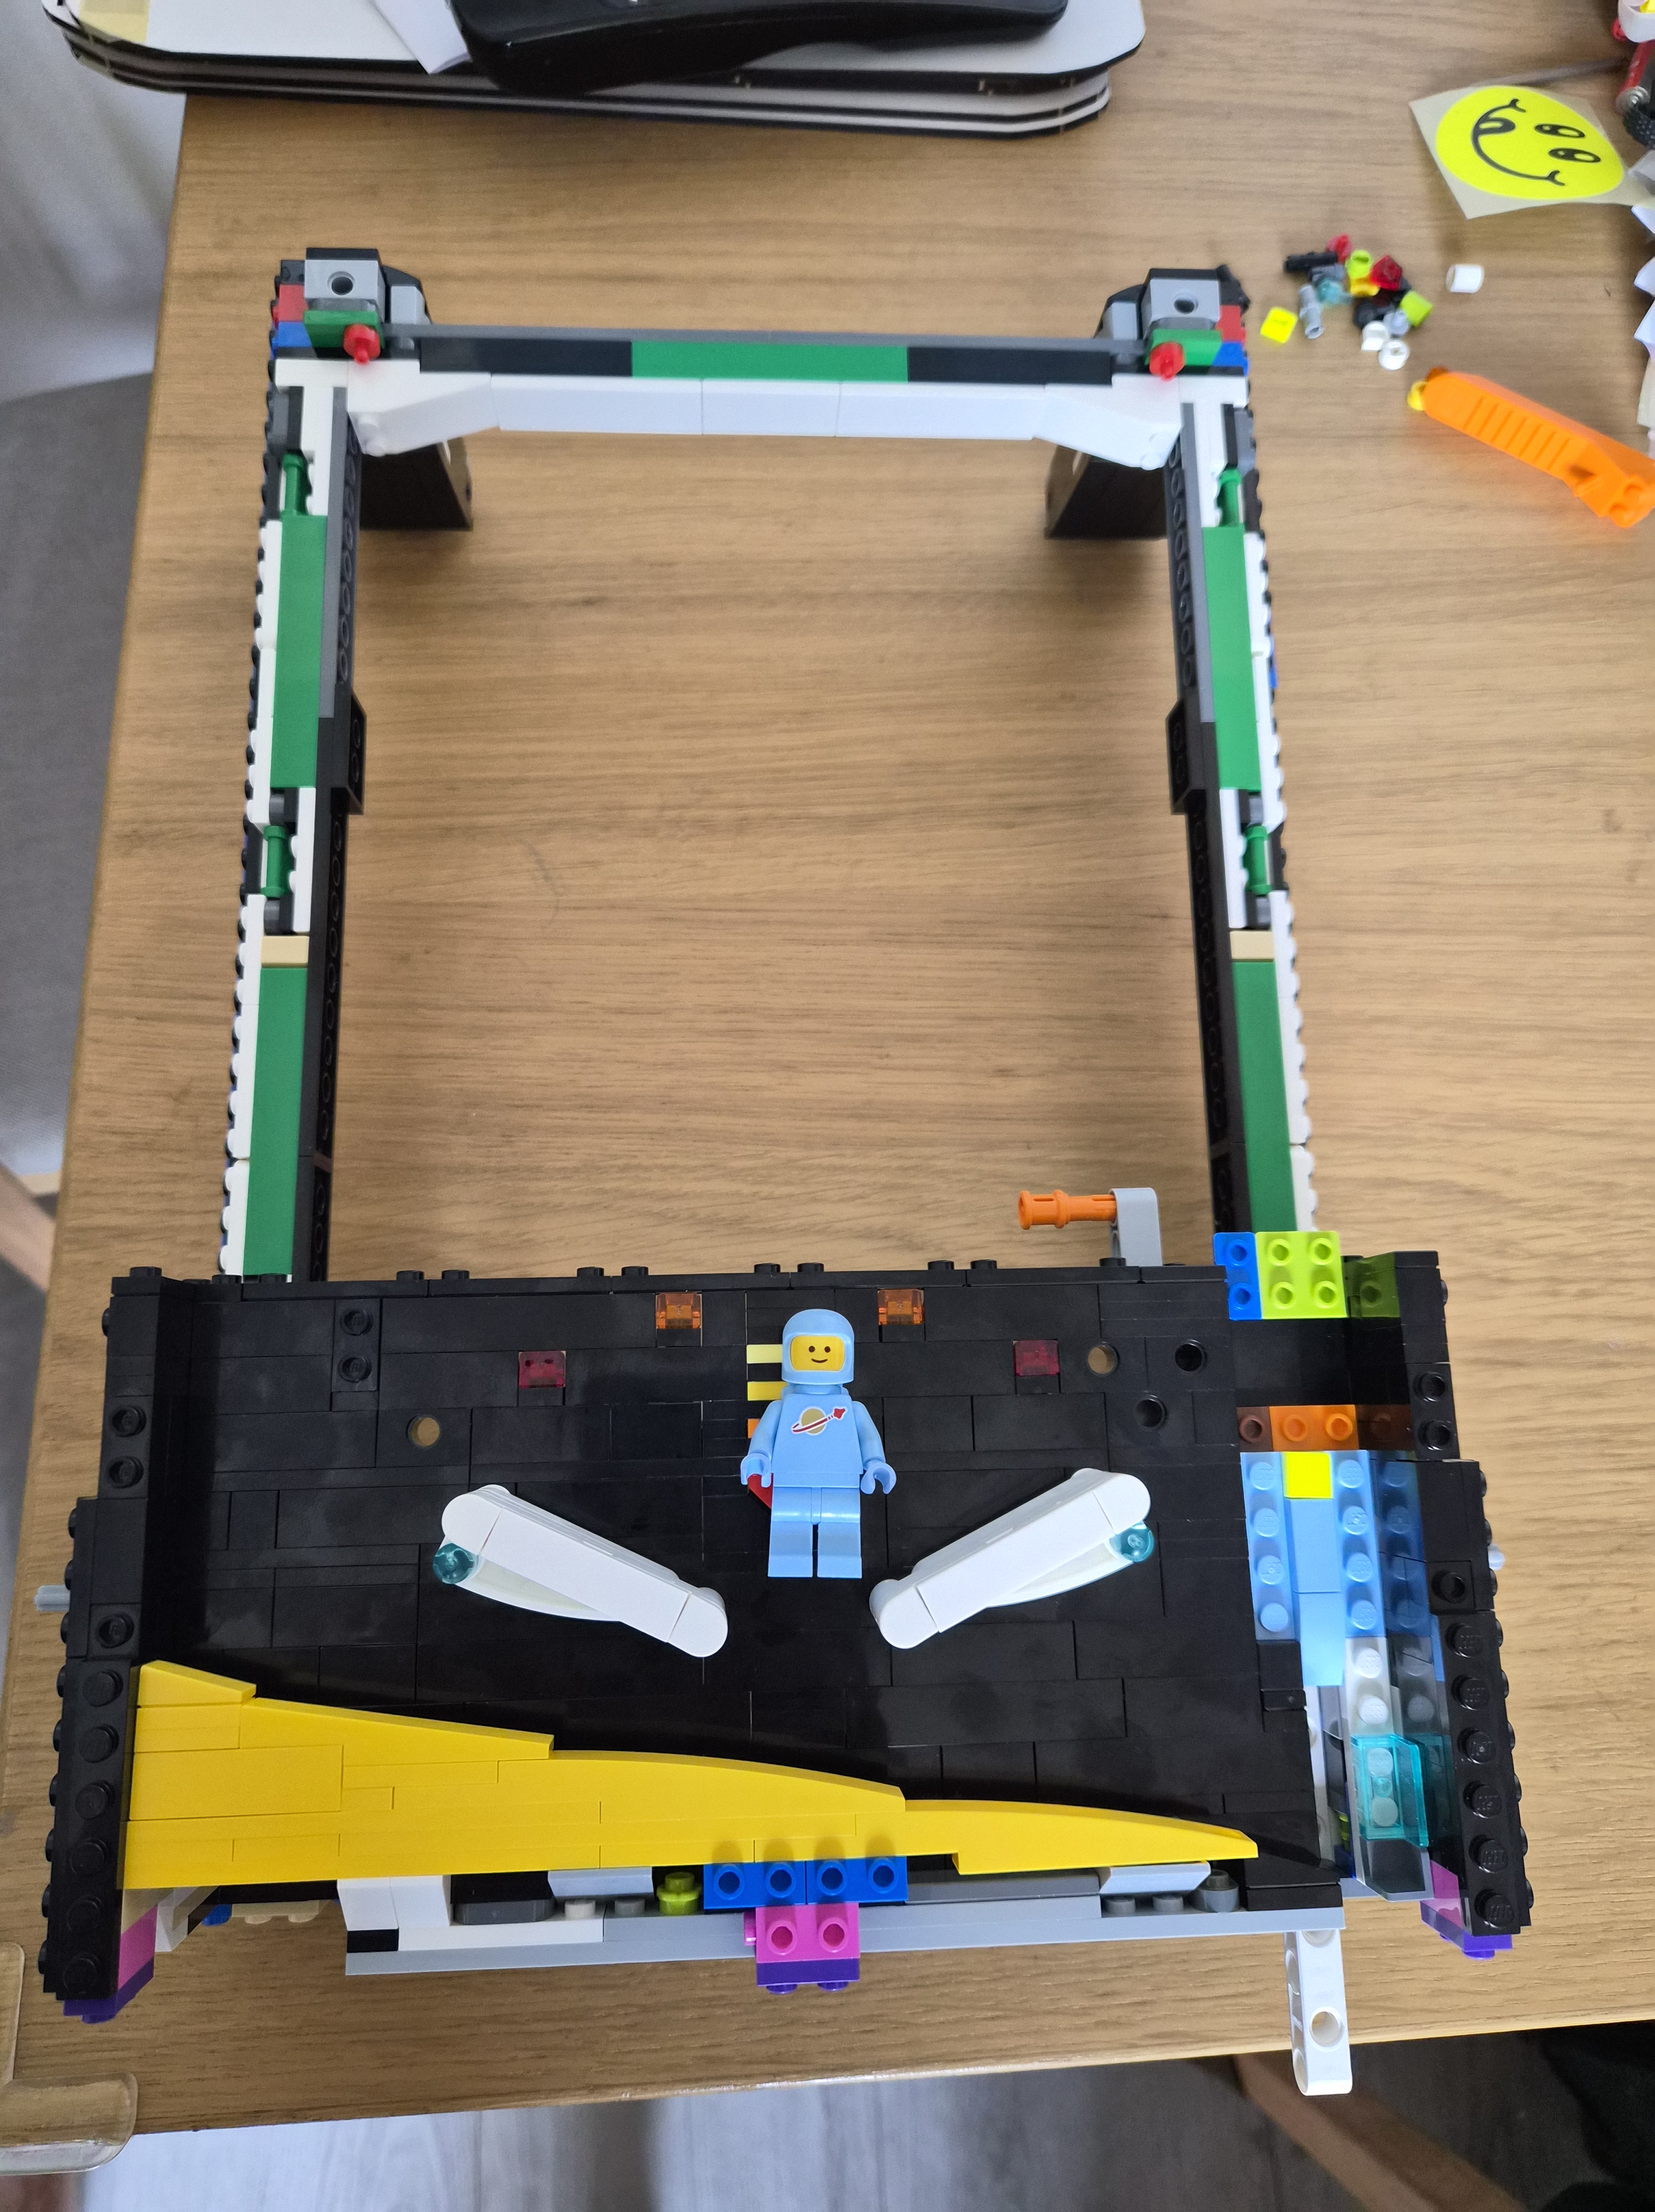
At about two hours into the build I am seeing it all come together.
The white thing on the bottom is the plunger. Another ingenious mechanism, and you can see how it all fits together now. The flipper assembly hooked into the frame and is now snug as a bug.
The collection of spare parts keeps also increasing.
Frontage

Another half hour later and the front is complete, with a fully assembled plunger and even a spare ball tray on the left.
Thanks for Looking Here
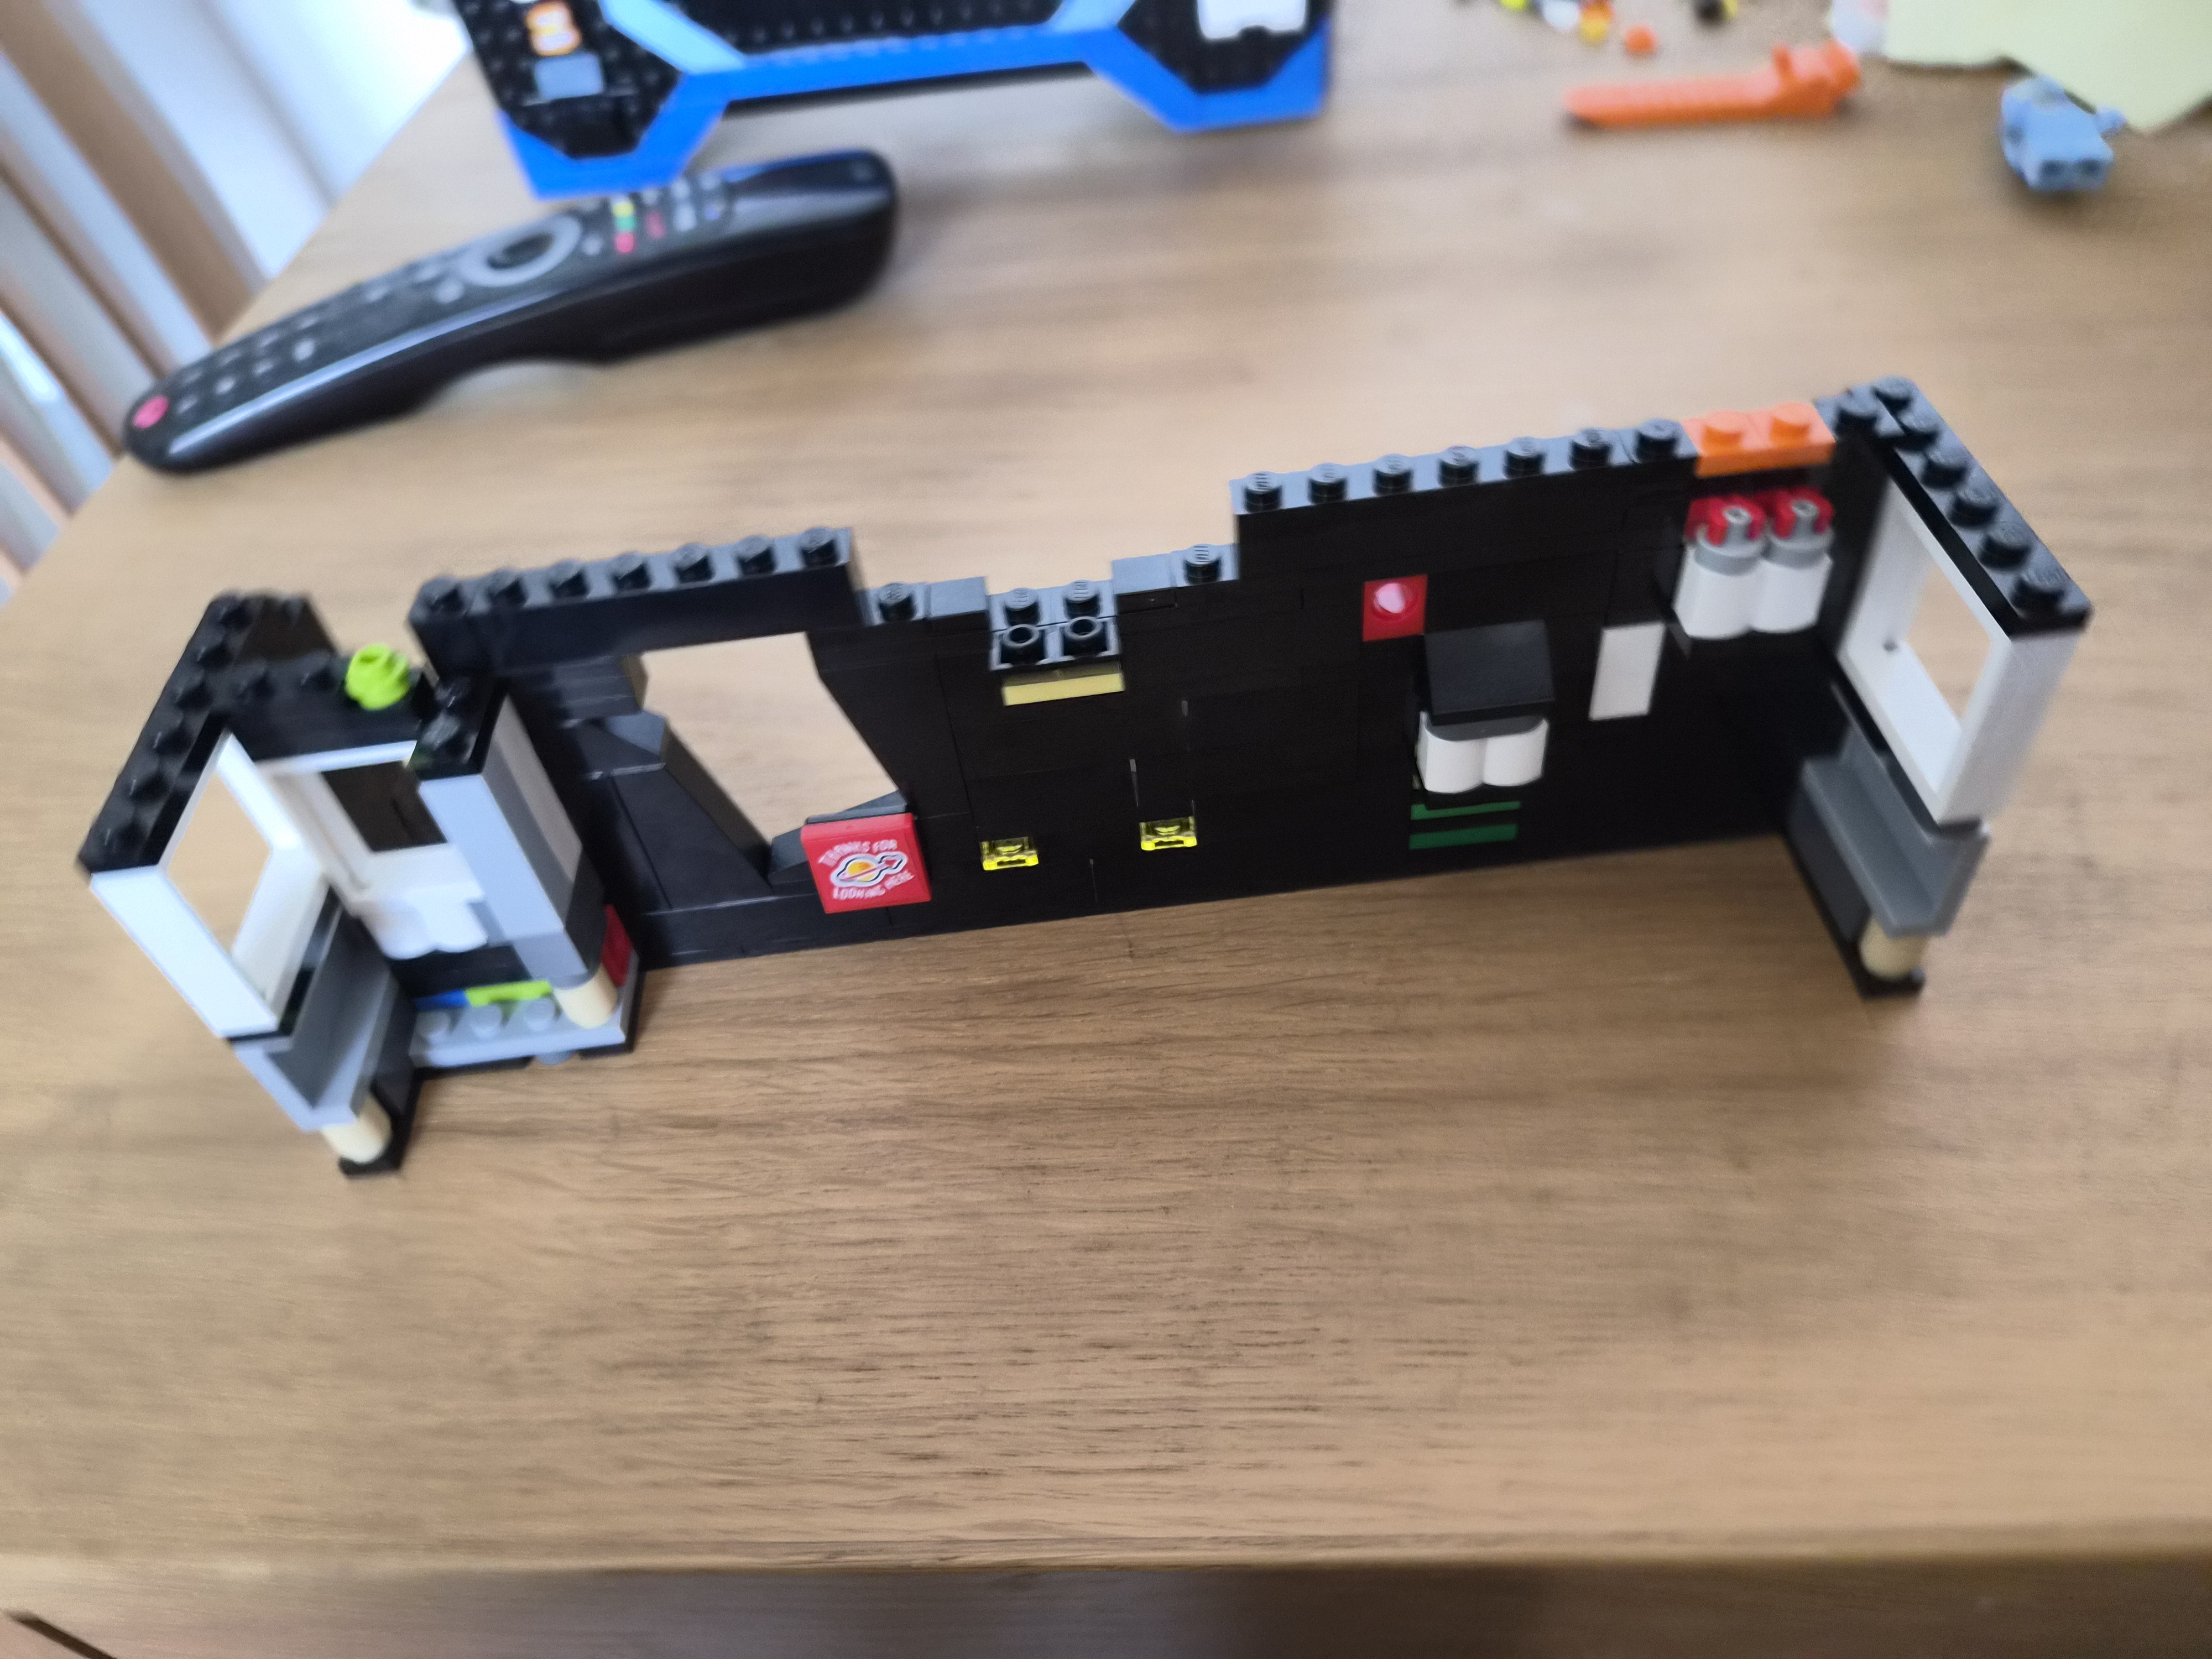
I had no idea what this was again, but later found out it’s part of the underside of the playfield where a lot of the mechanics would be hooked into.
Arrows
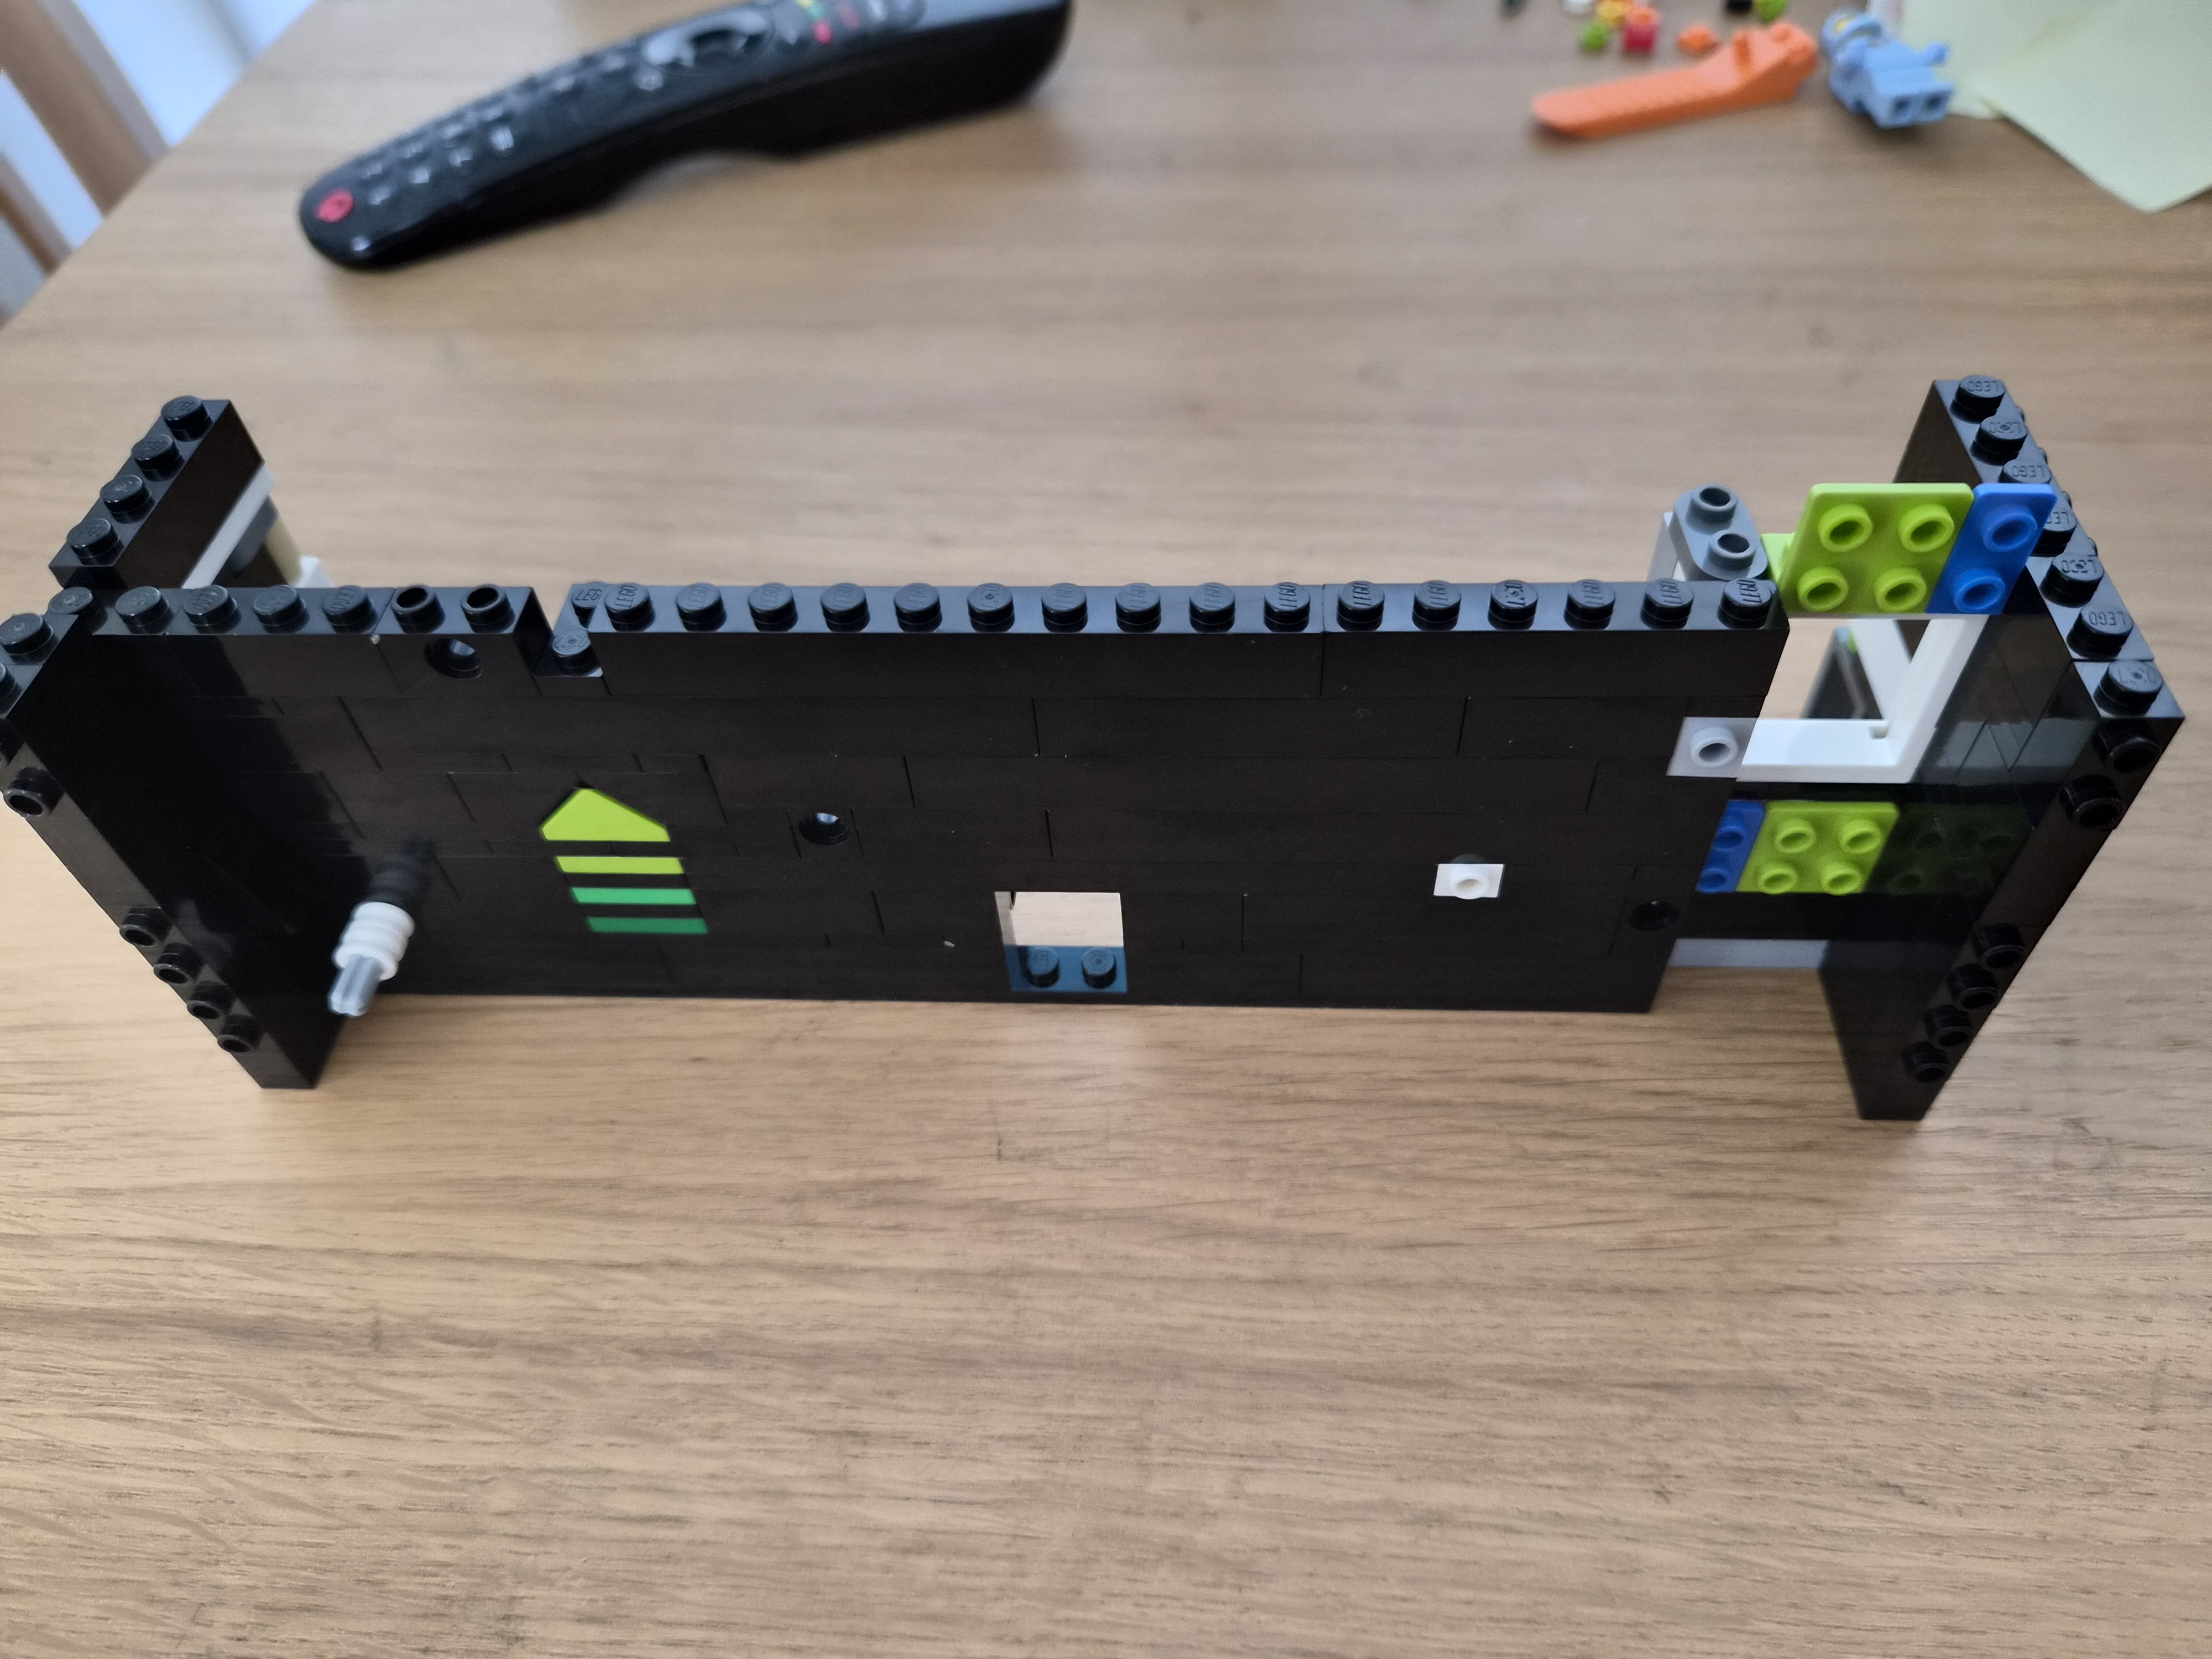
The same part, continued but now from the other (top) side. At this stage I was three hours into the build.
Are we done yet?
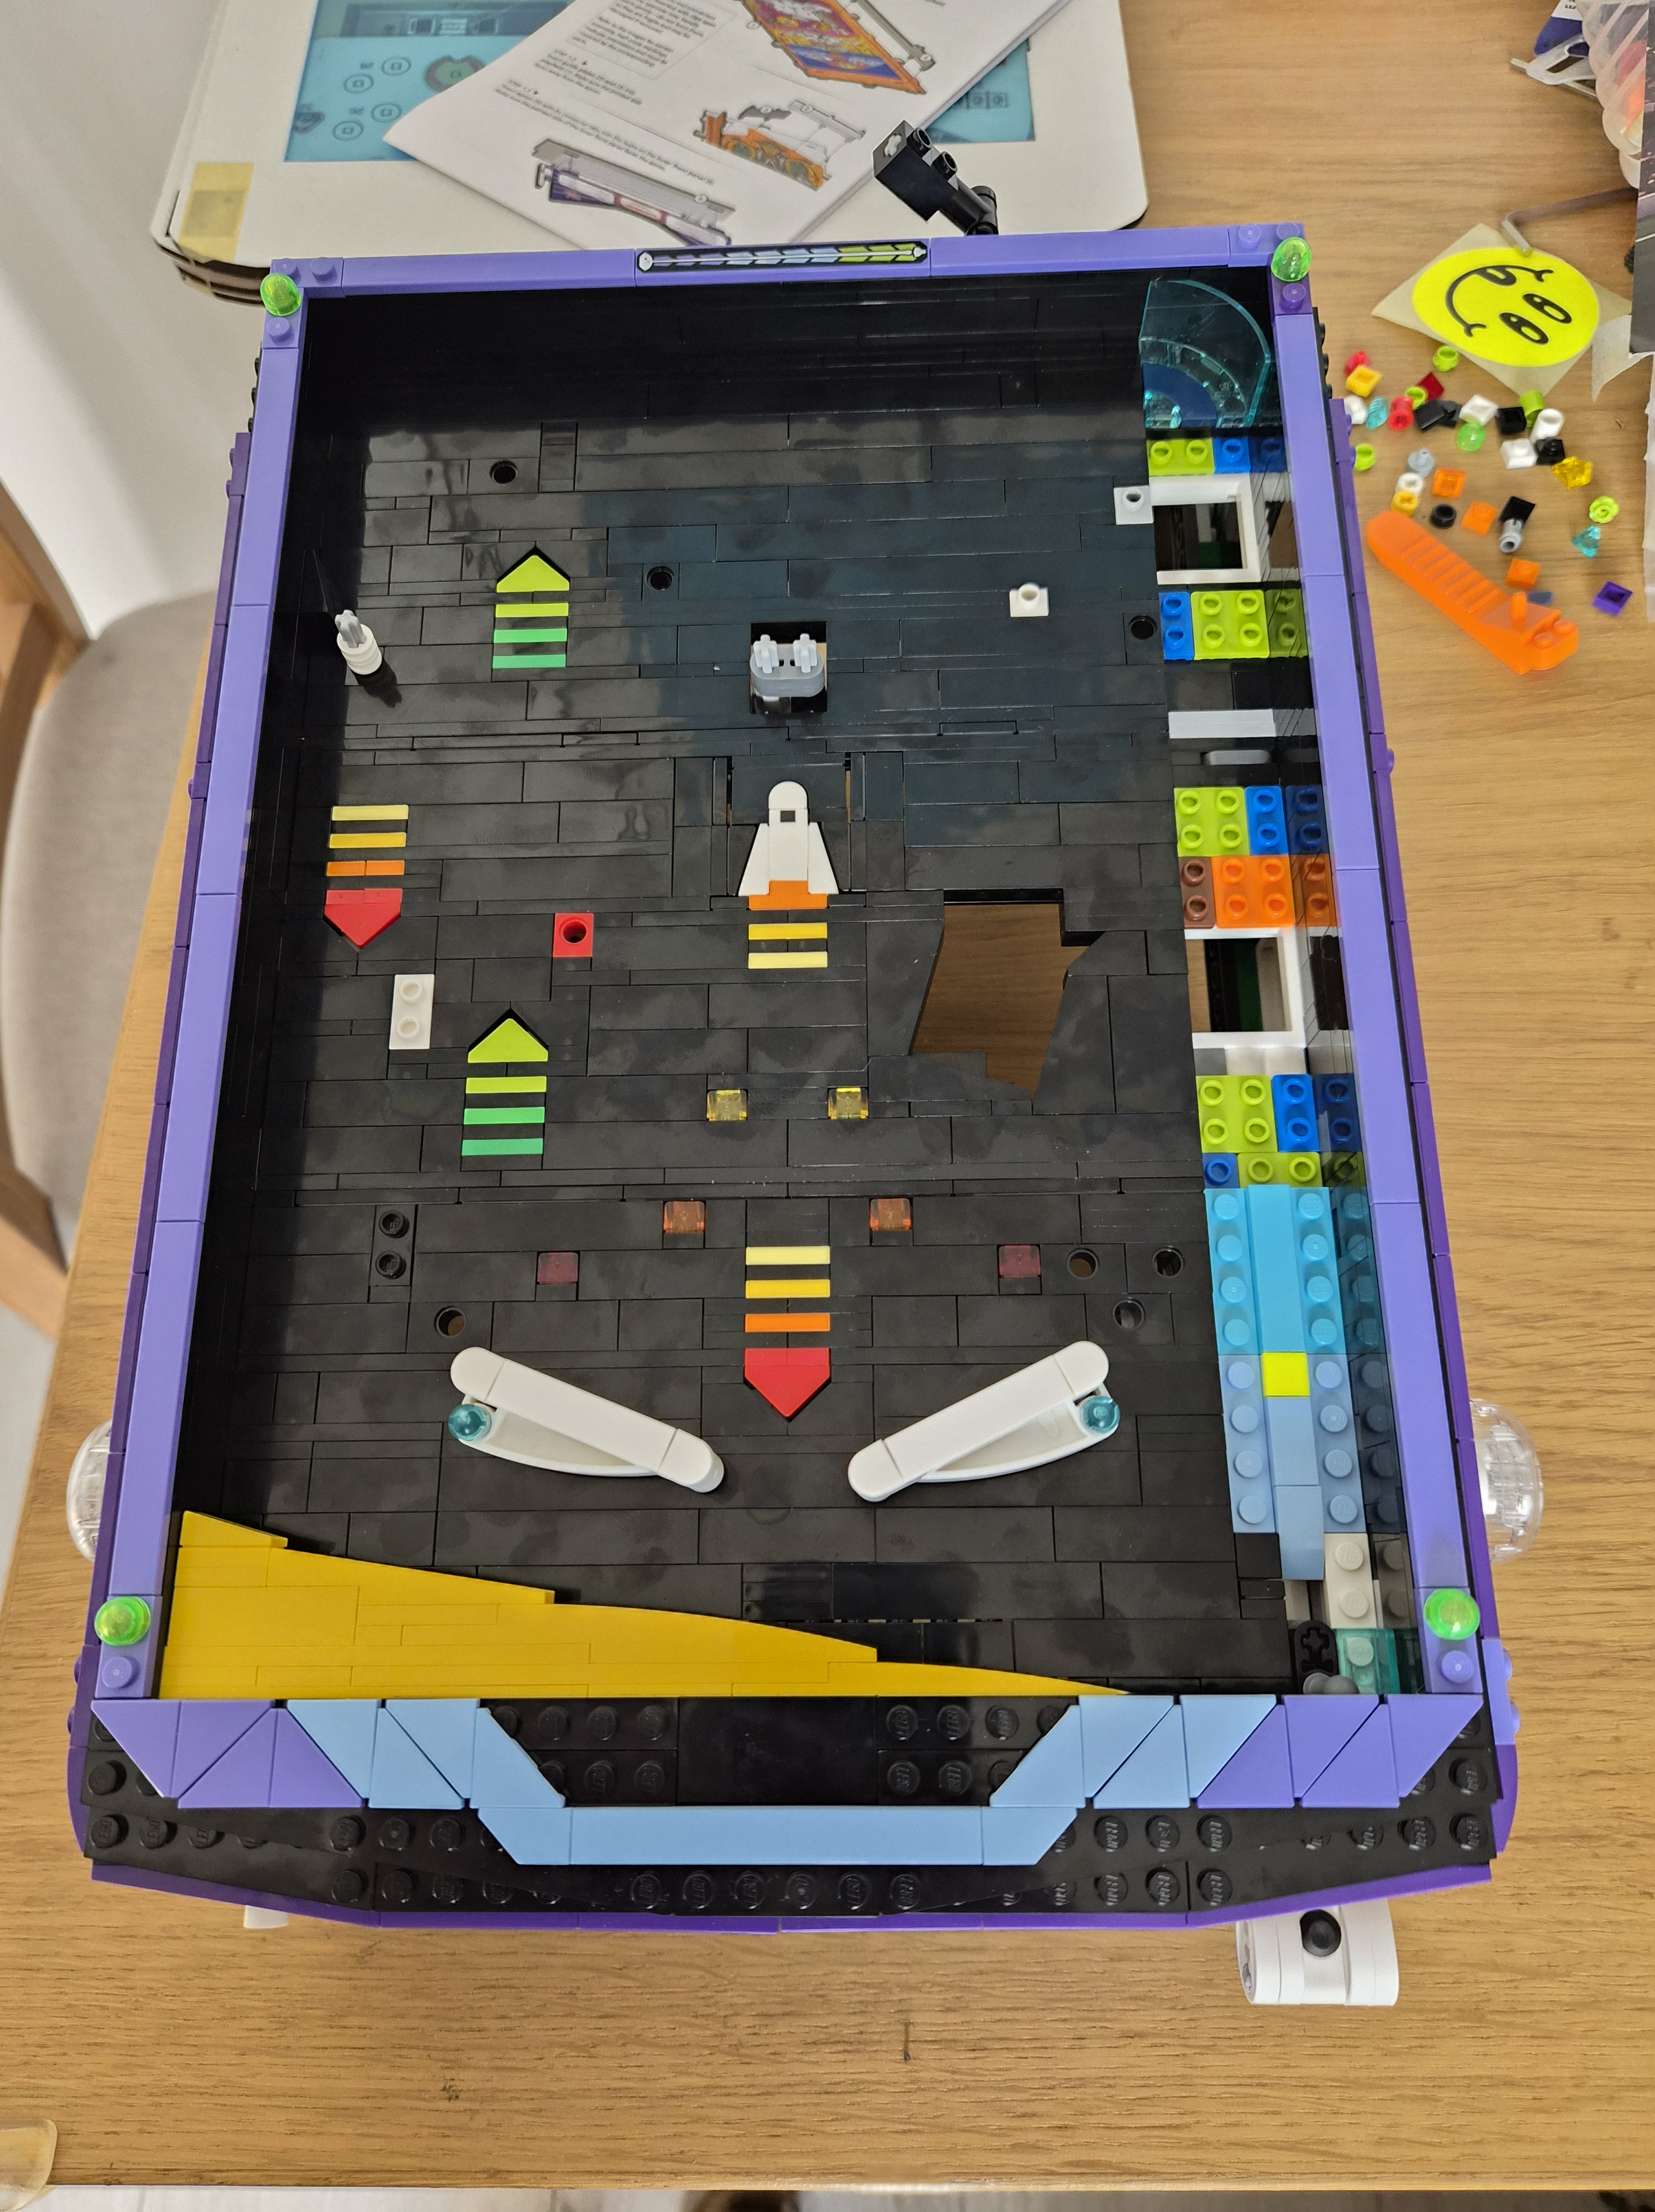
With the part from bags 8 and 9 installed, the playfield is nearly complete. All that’s left is the things that go on it like ramps, bumpers, and the launching lane.
To the side you can see the flippers, and above the ever-increasing number of spare parts.
The One Place not Corrupted by Capitalism
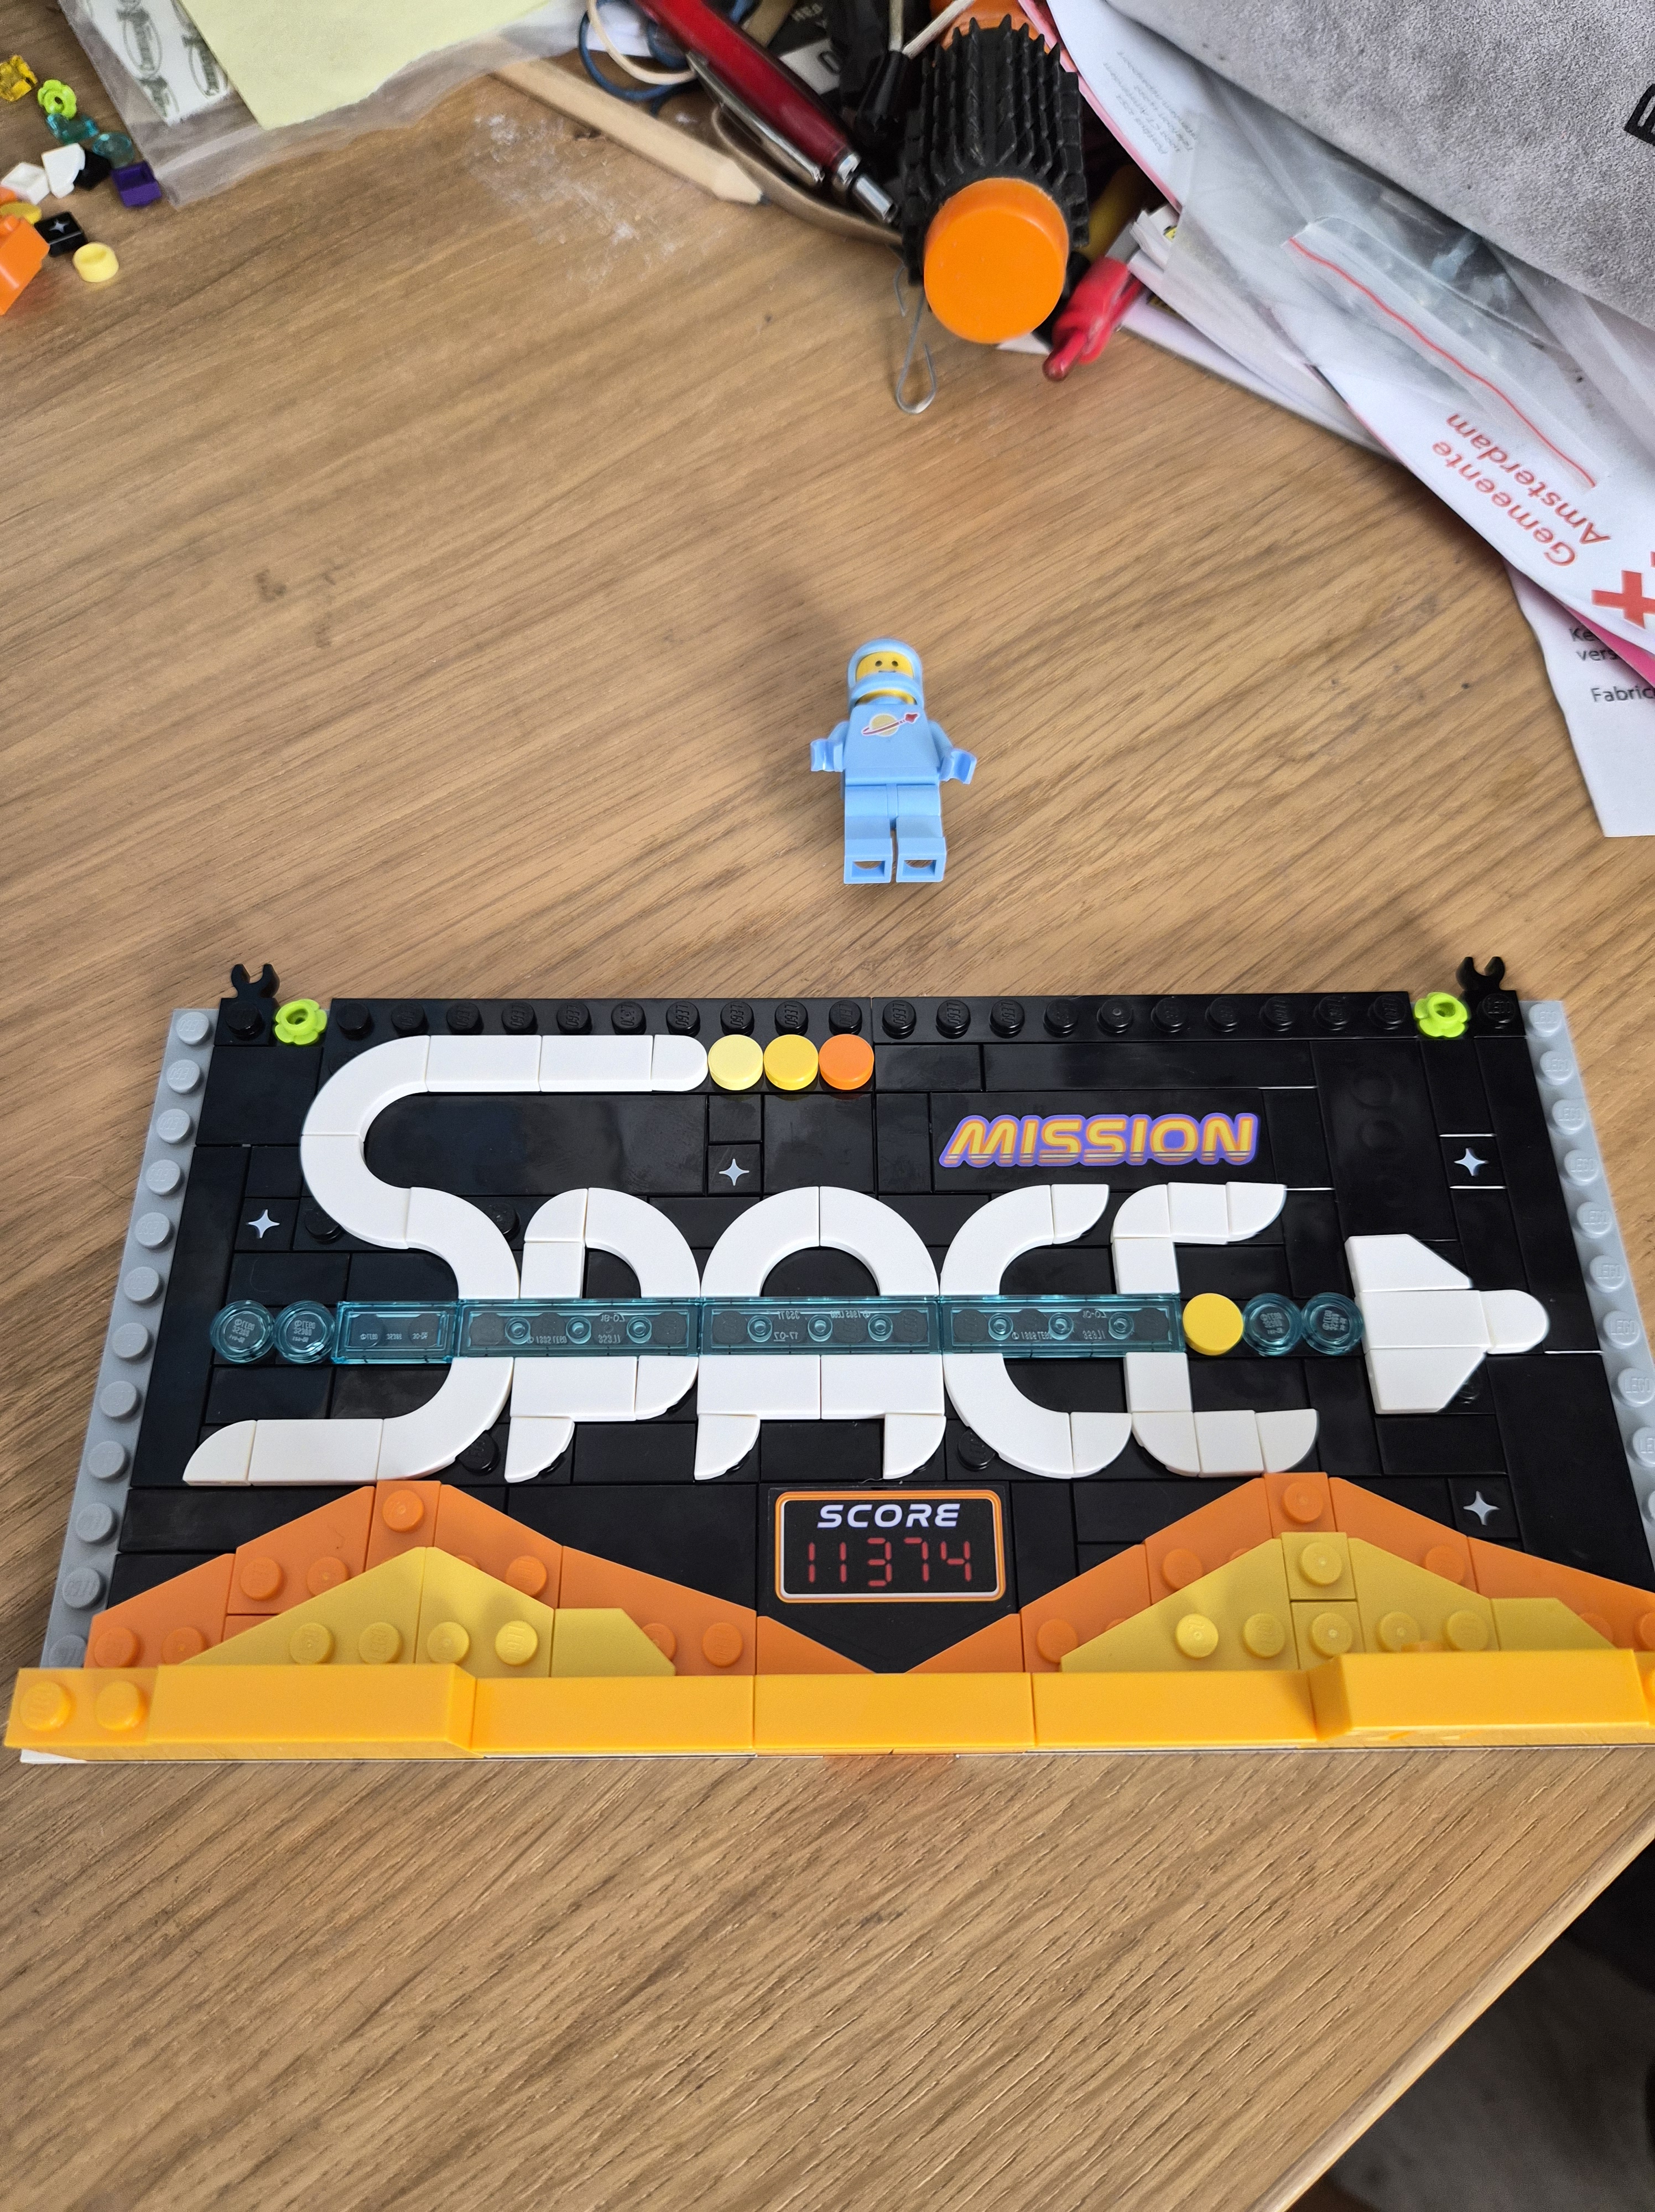
Building the scoreboard came next, with SPACE made from blocks. A really nice detail!
It’s all coming together
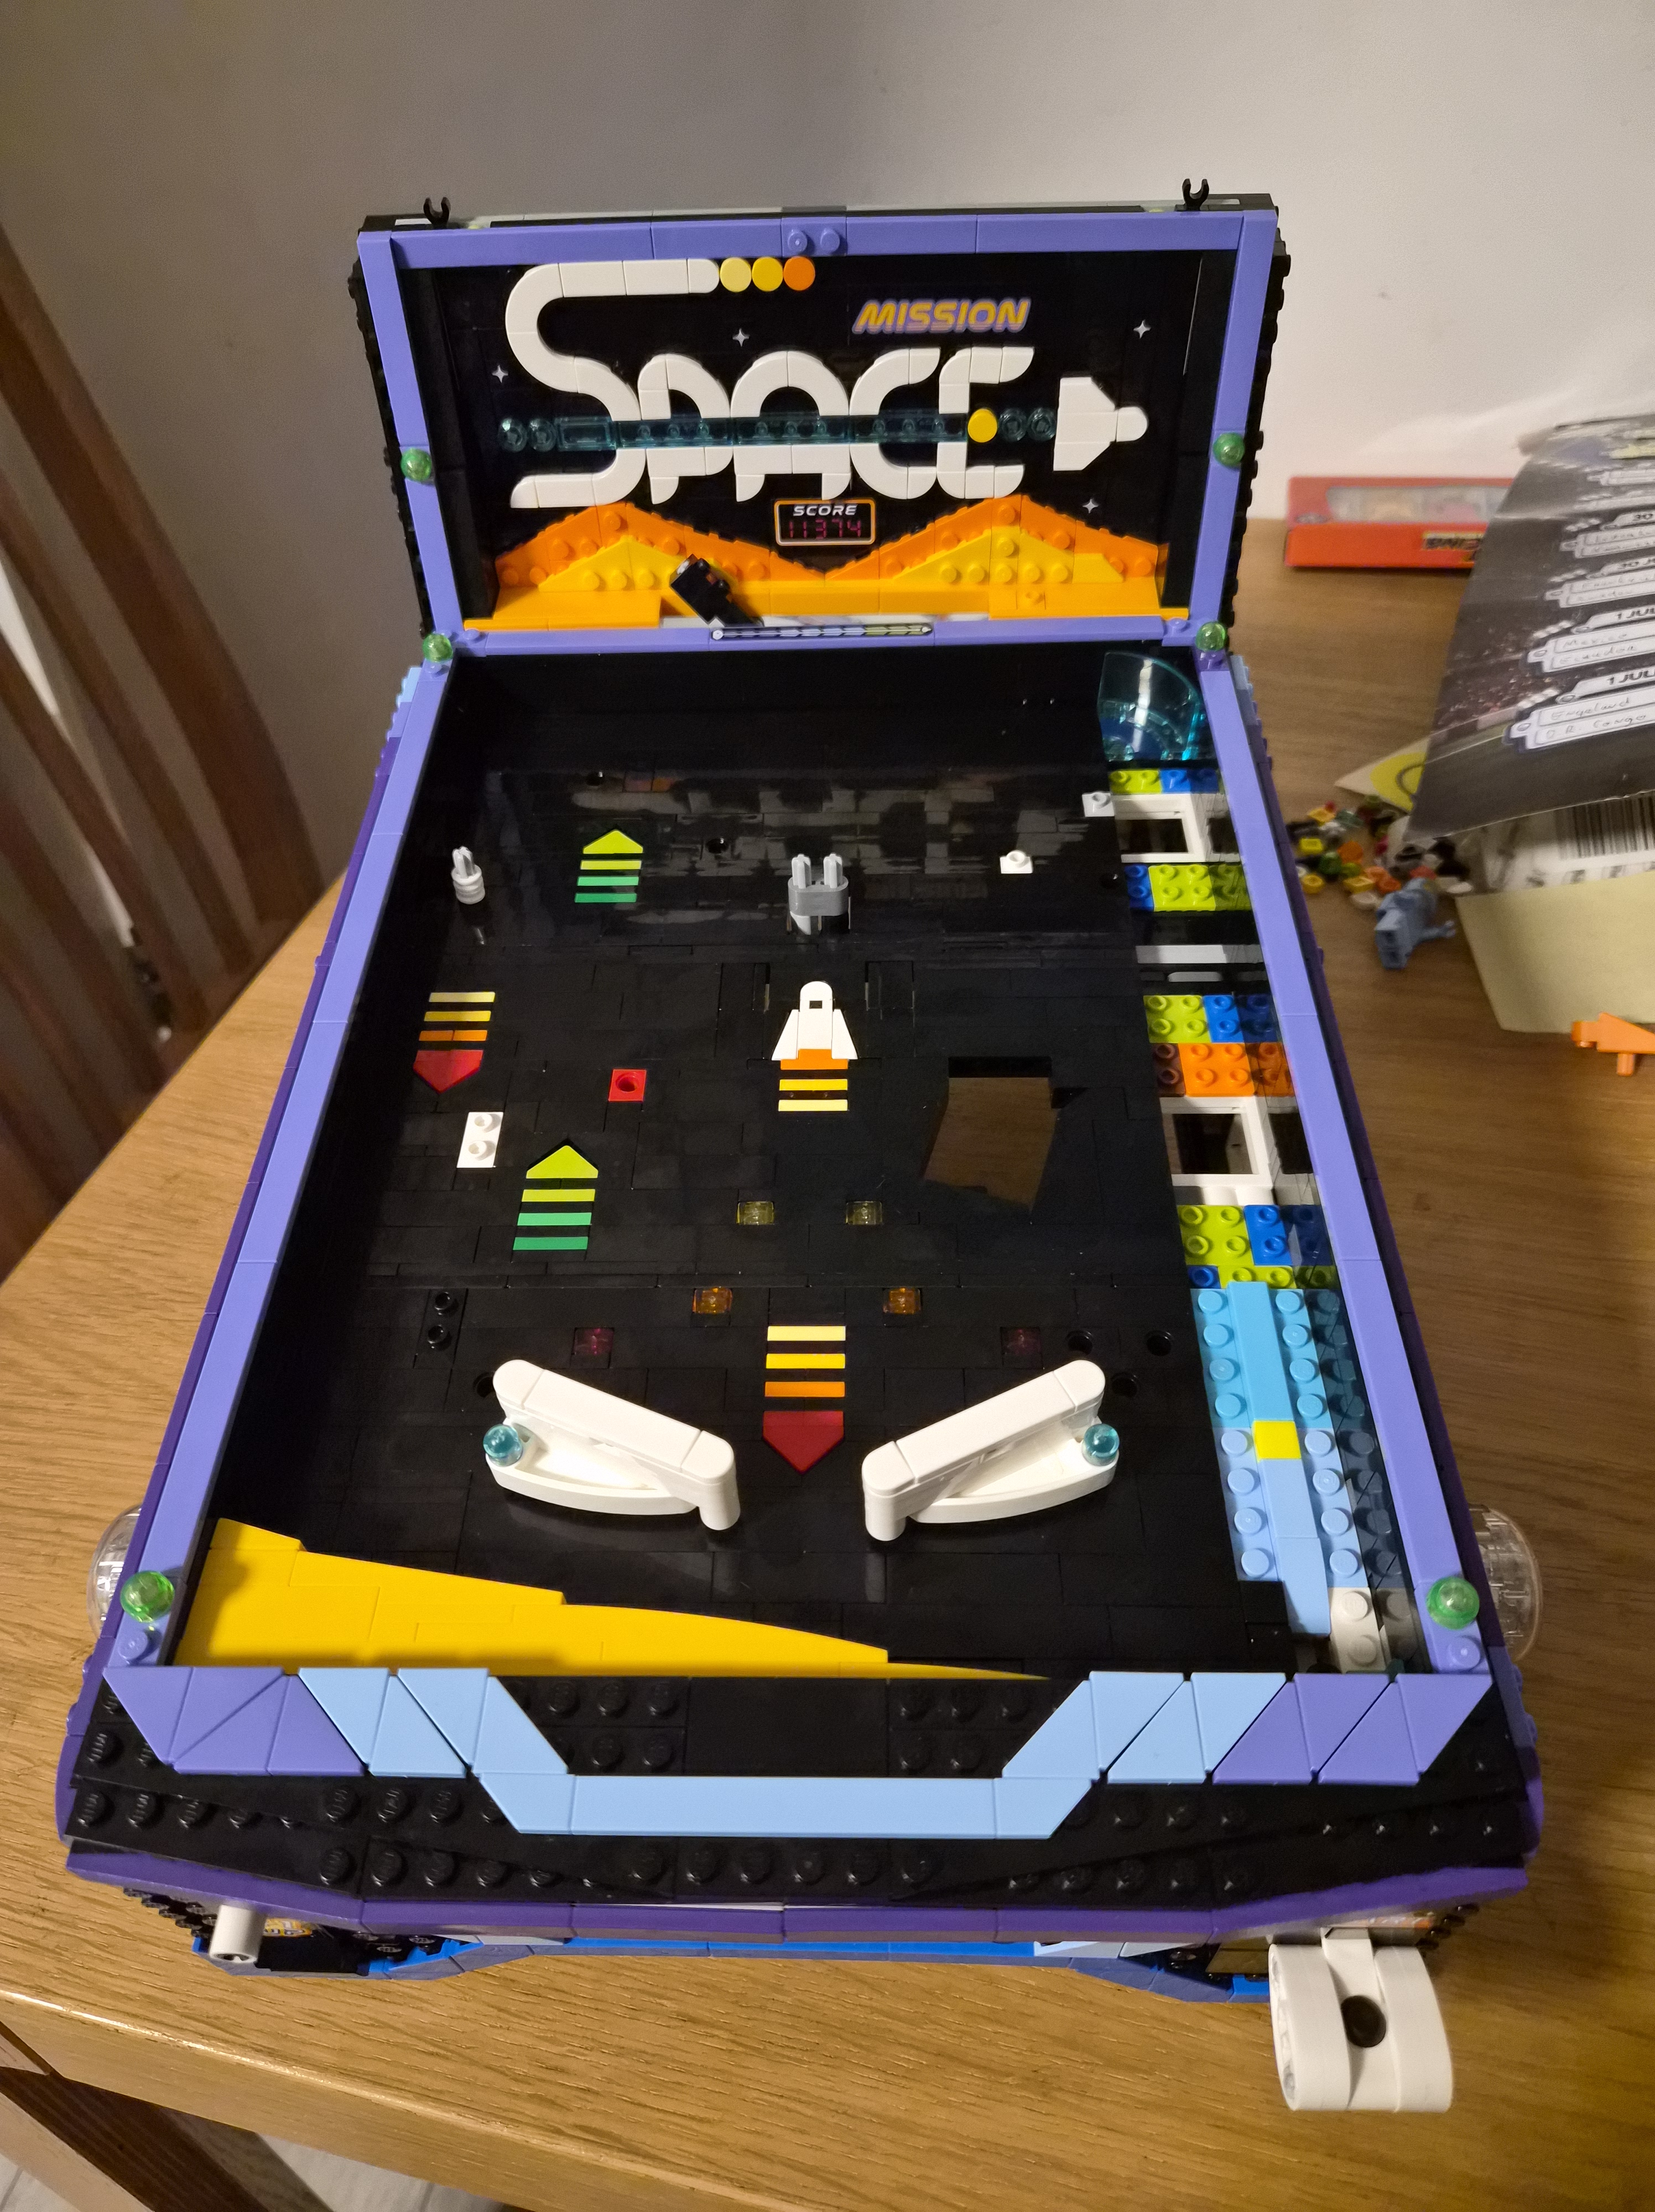
After a short break for the first half of a FIFA match I finished the scoreboard and connected it to the field. With just two bags left, I knew the ramp and bumpers would be next.
Final
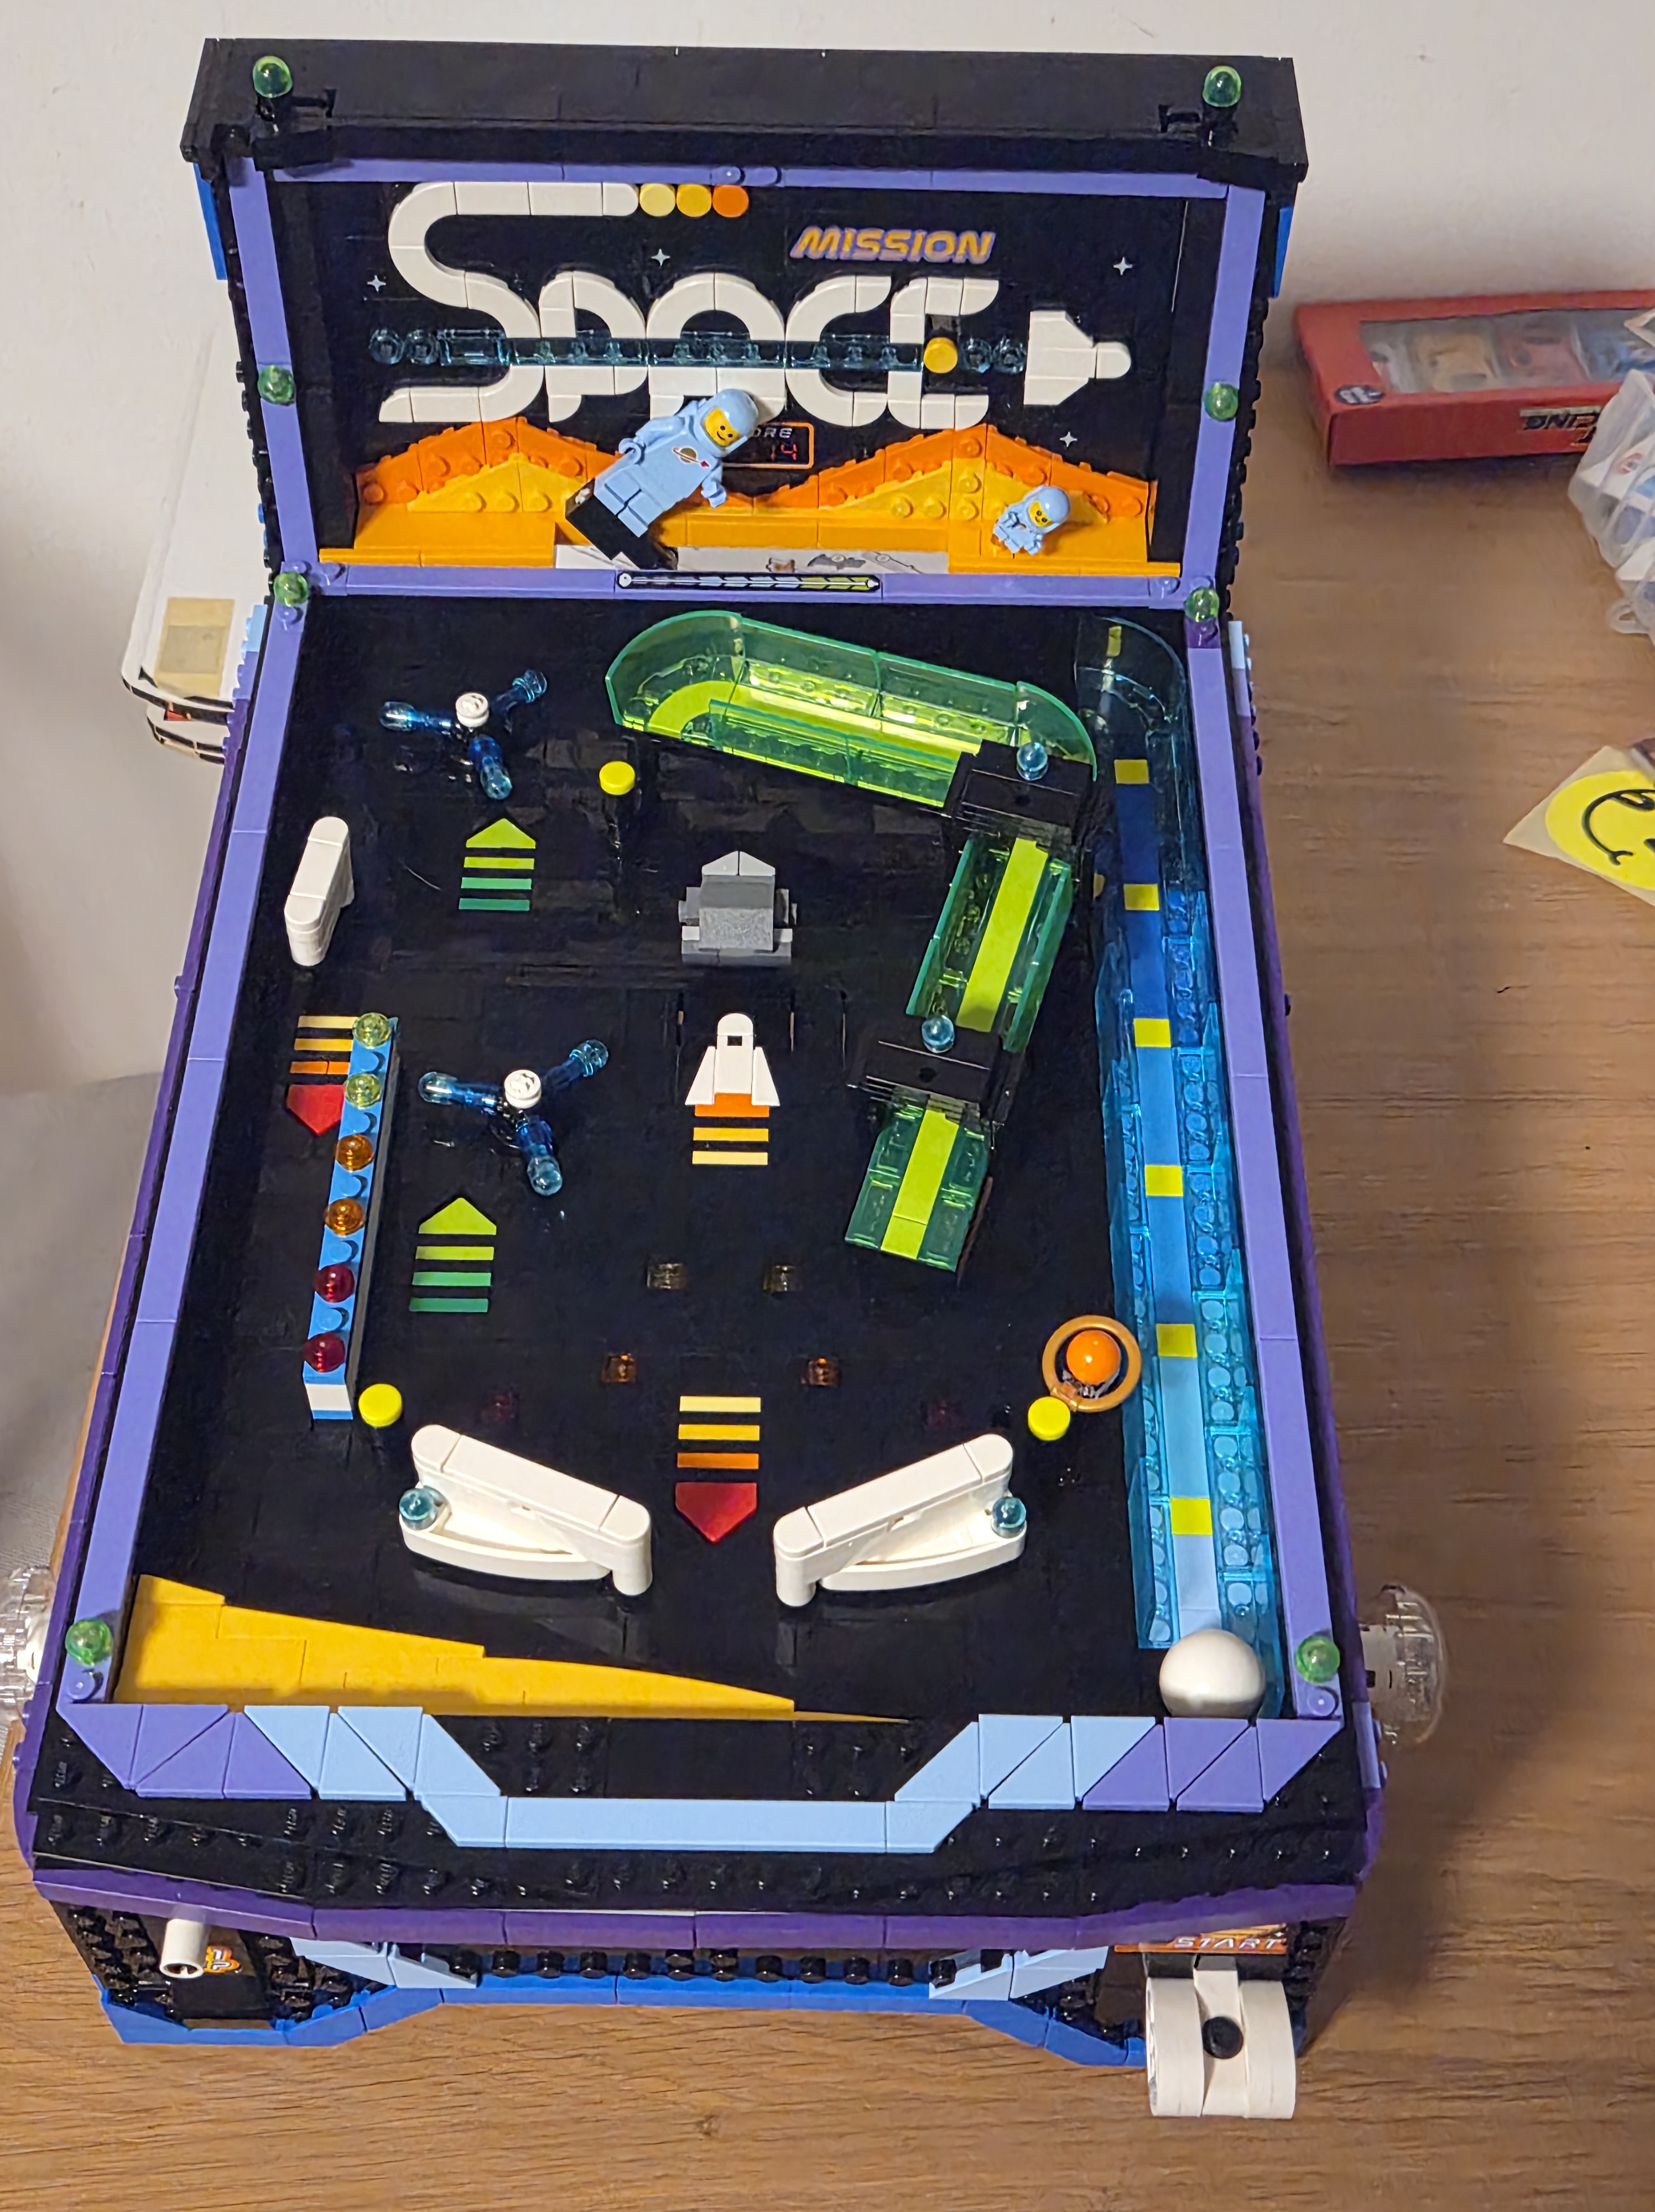
Twelve hours later — which does include around two hours of break time for football — she is complete. Time to play.
Playing the table
For a mini pin made from Lego bricks of all things? It plays really well. A large part of this is due to the comparatively large ball size: the larger the ball, more it behaves like a real pinball.


You must be logged in to post a comment.